How to Install a Hair System
Views: 1135
A hair system is a fantastic idea to instantly get your hair back with a real look. There are huge companies that produce different varieties of men's and women's hair systems, but the most popular is the Lavivid hair system. They are the best quality, and it's a fantastic company.
Here we will guide you with some techniques to take care of your hair system. This guide is based on live video, and we will explain these methods step by step with images to tell you to realize them easily.
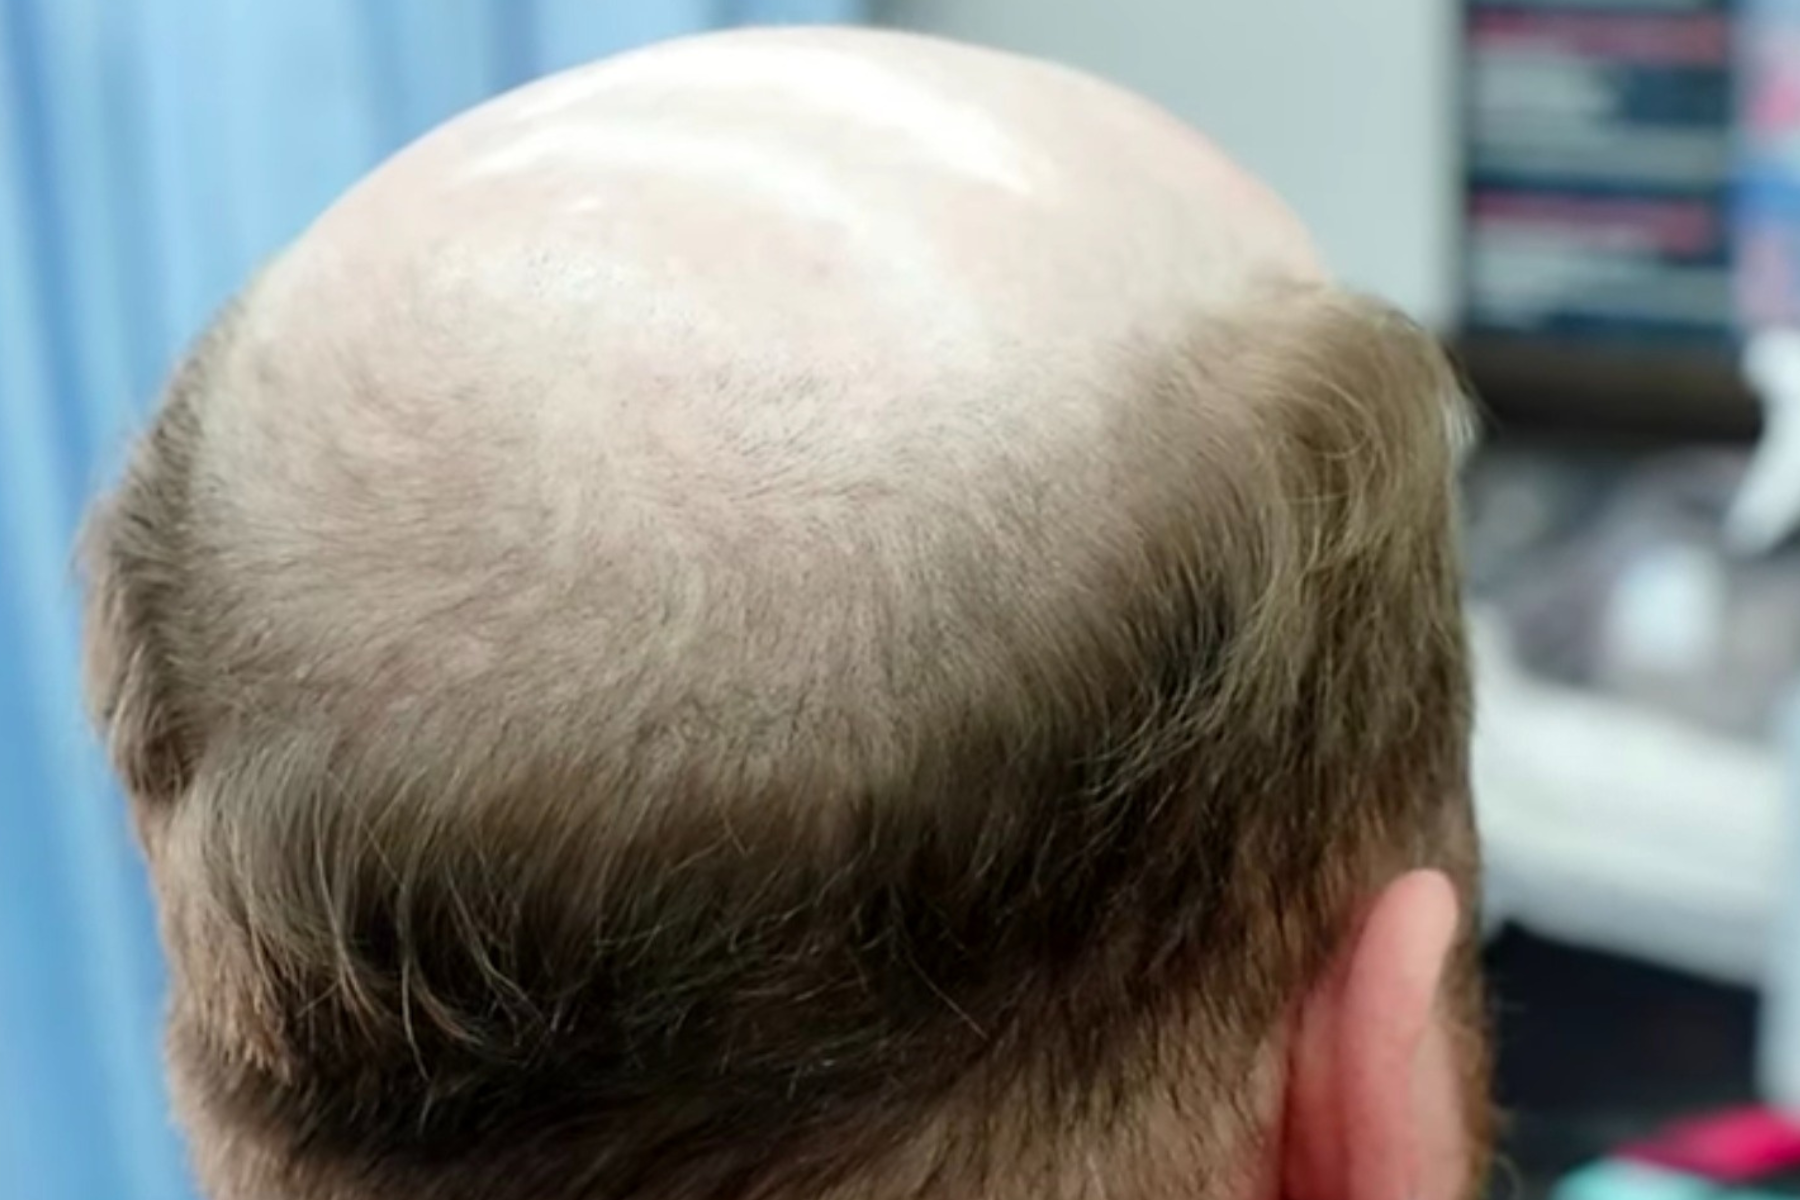
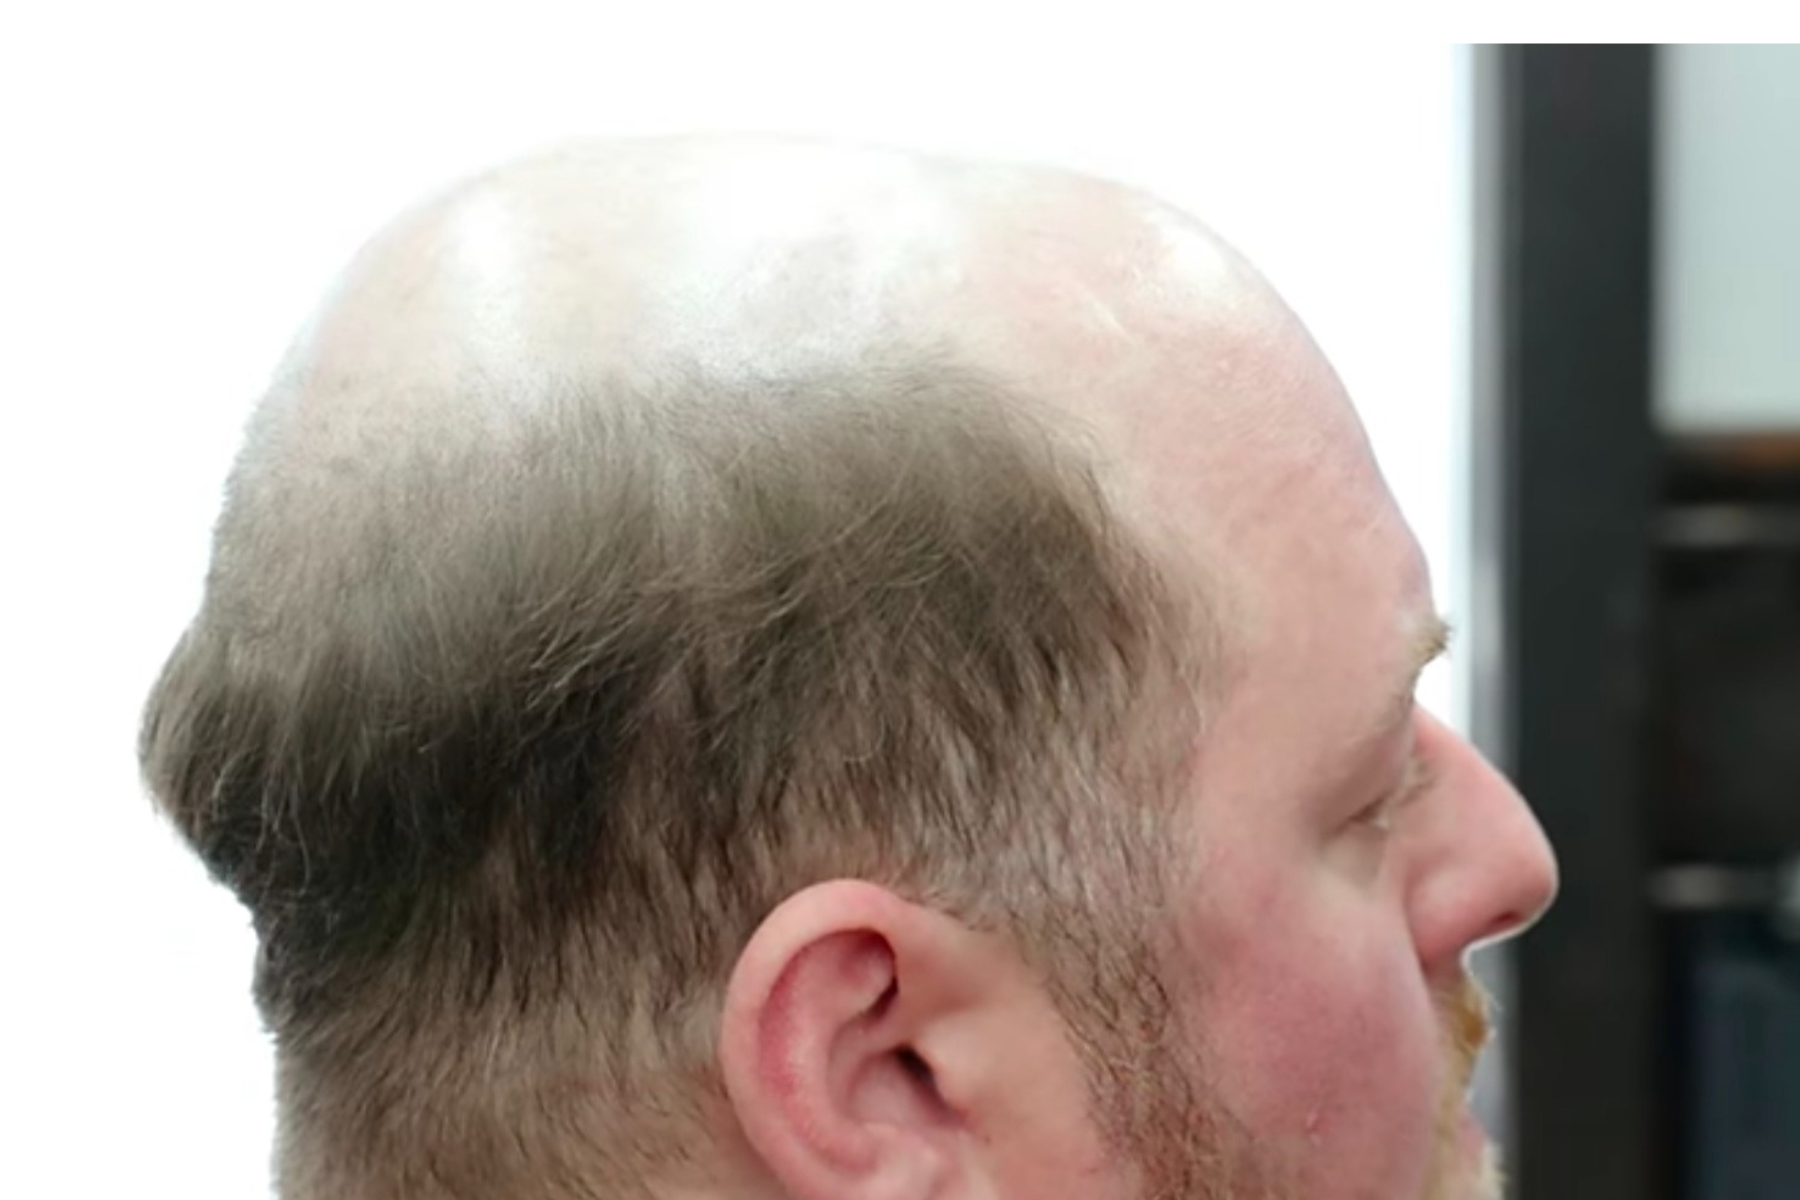
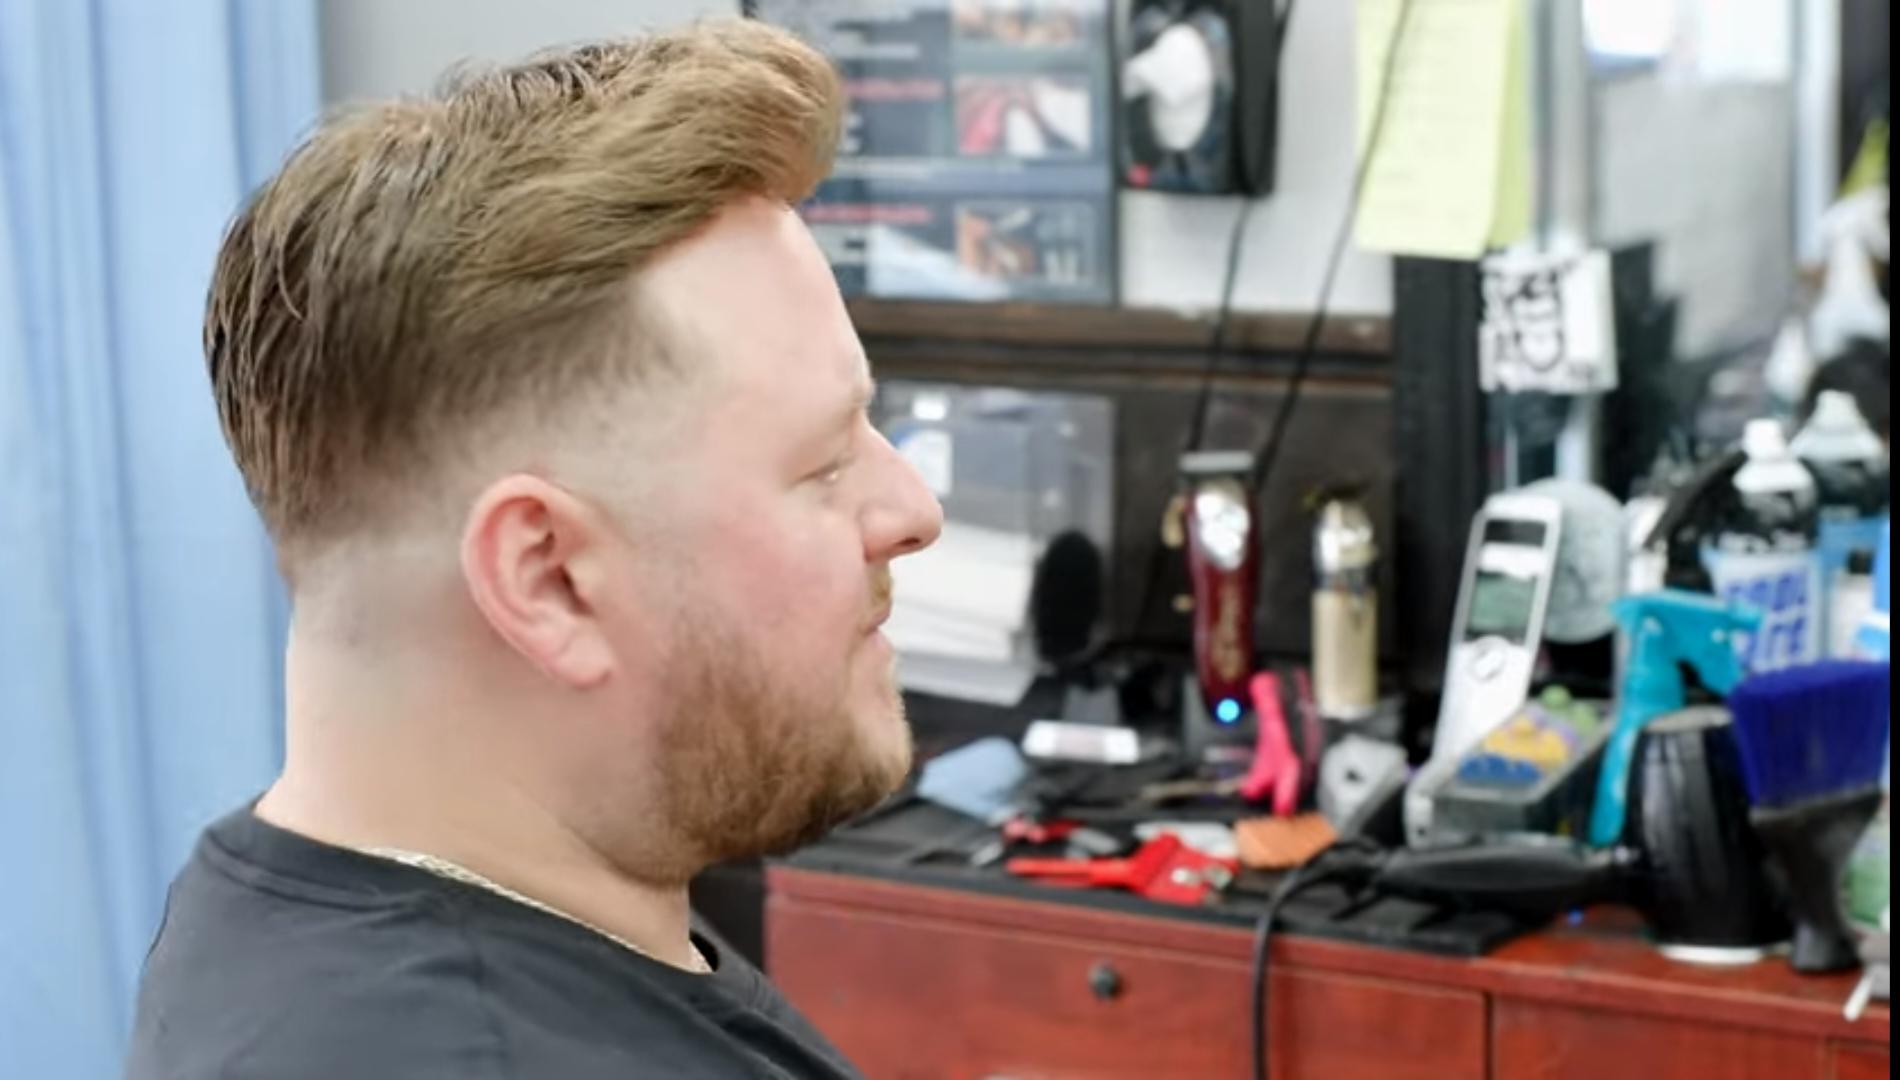
We are going to share a fundamental transformation with our audiences. Here is our client Nick. He is going to be using a lavivid hair unit. It is a poly base. It's a mirage. The poly base works excellently, and couldn't believe how Jonathan mentioned that he gets about six months out of this unit.
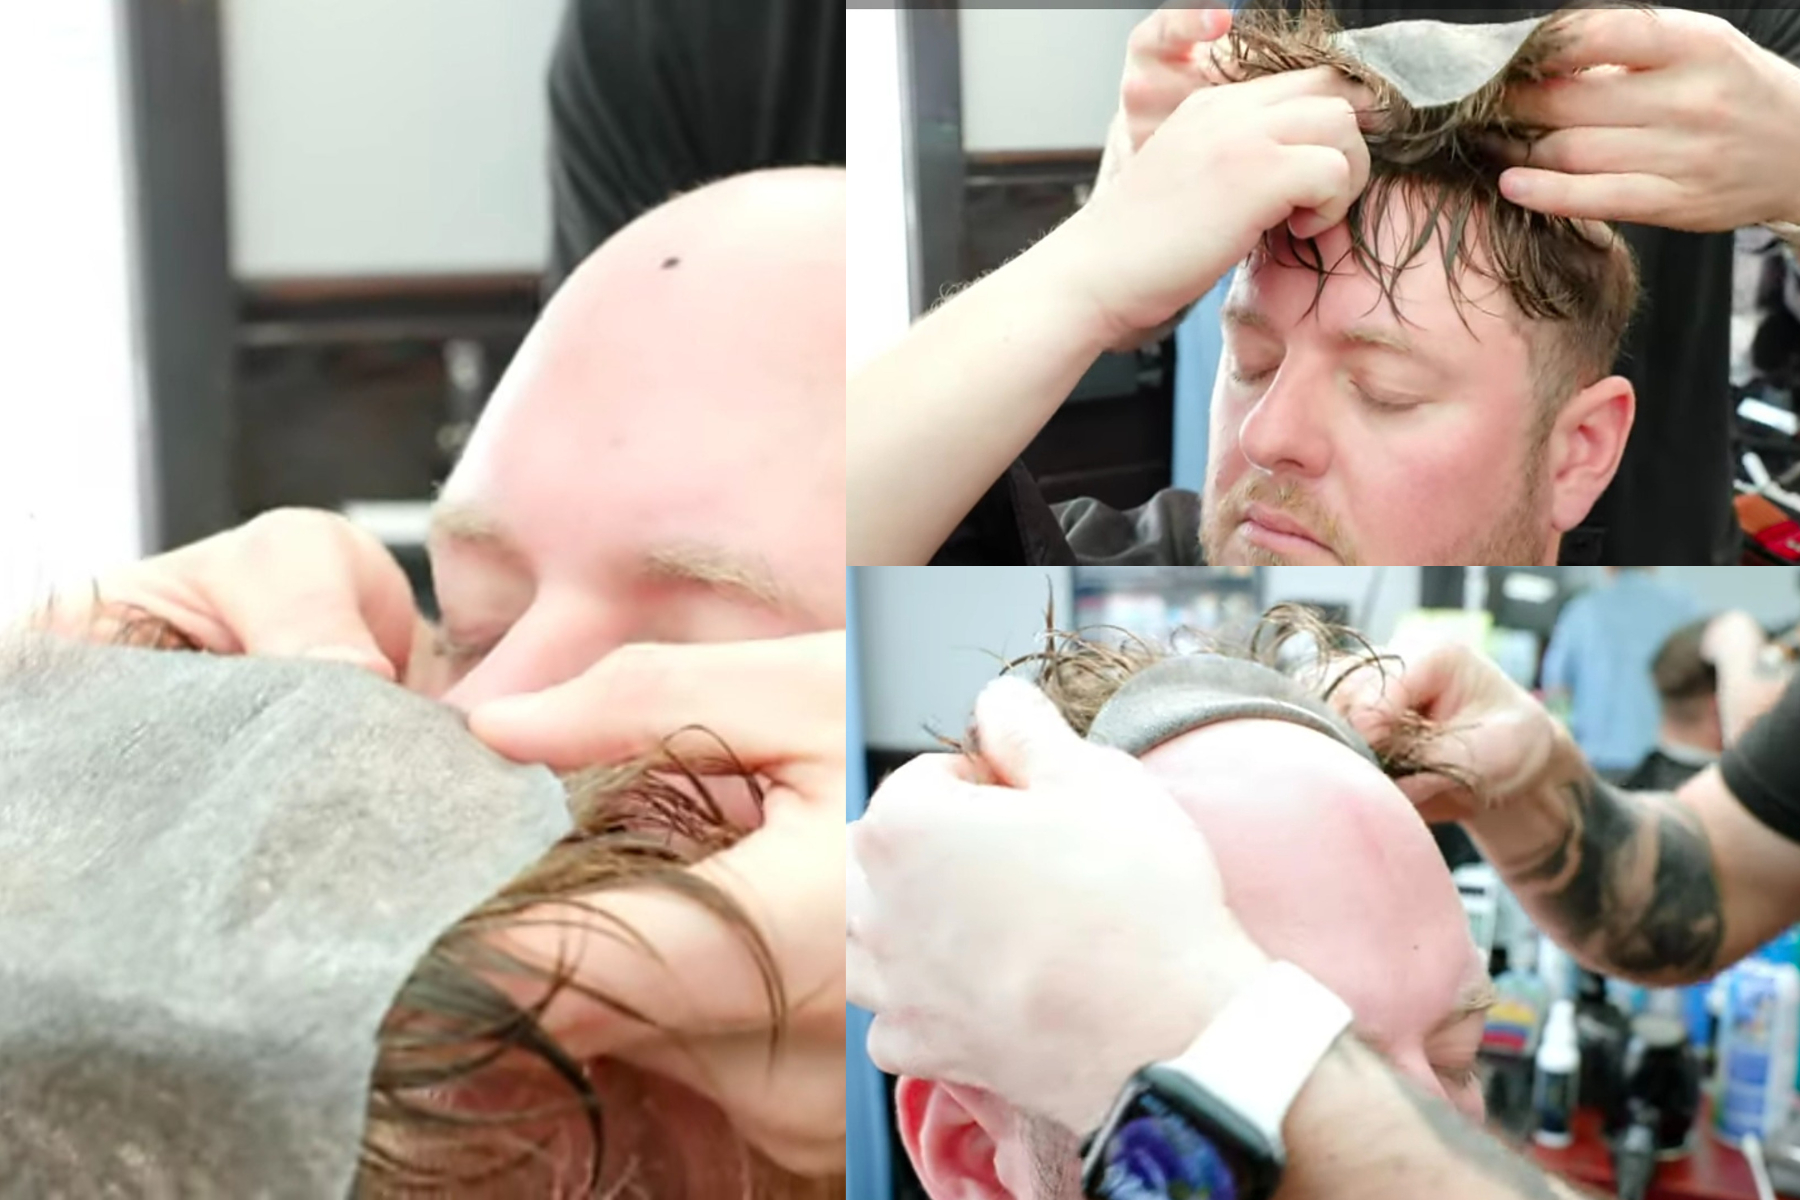
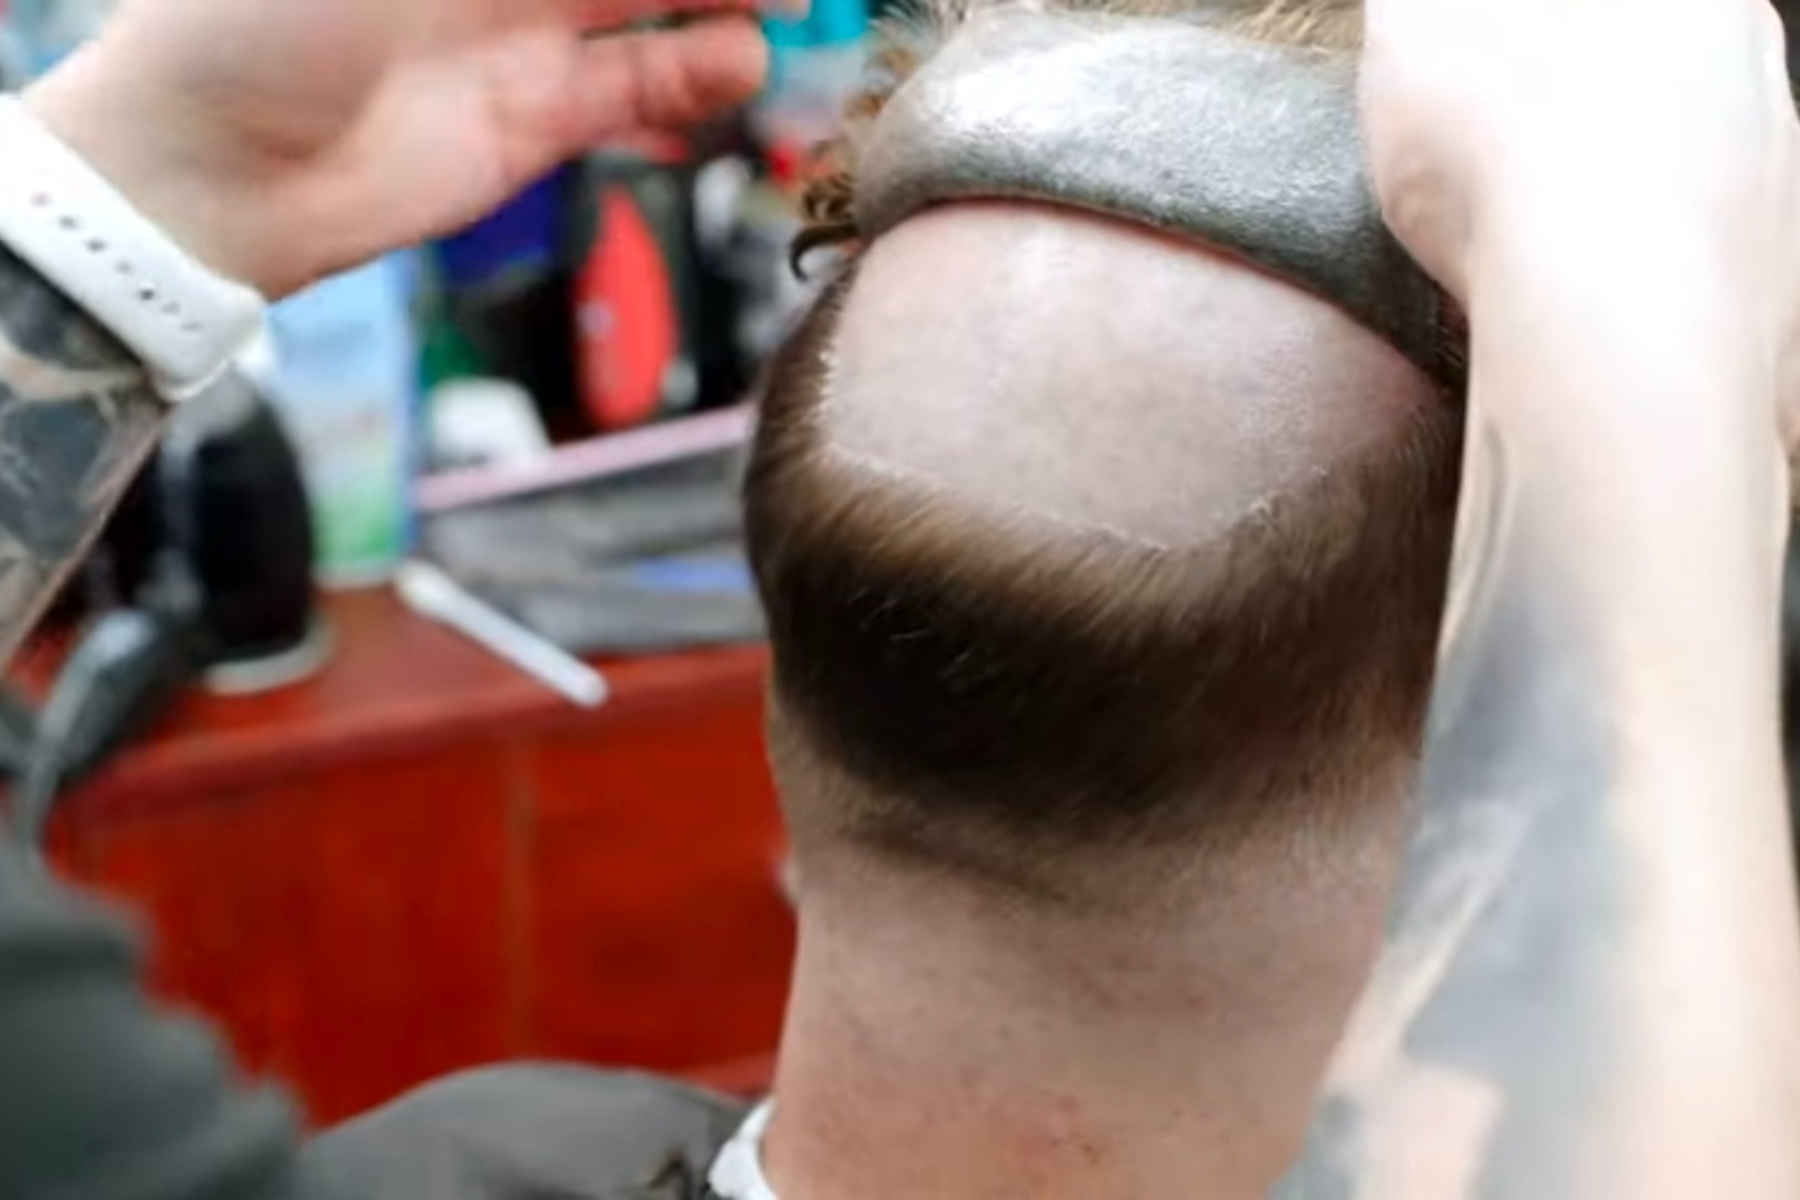
Here is the before scalp look of nick.
Let's start the live performance by applying a LaVivid hair system.
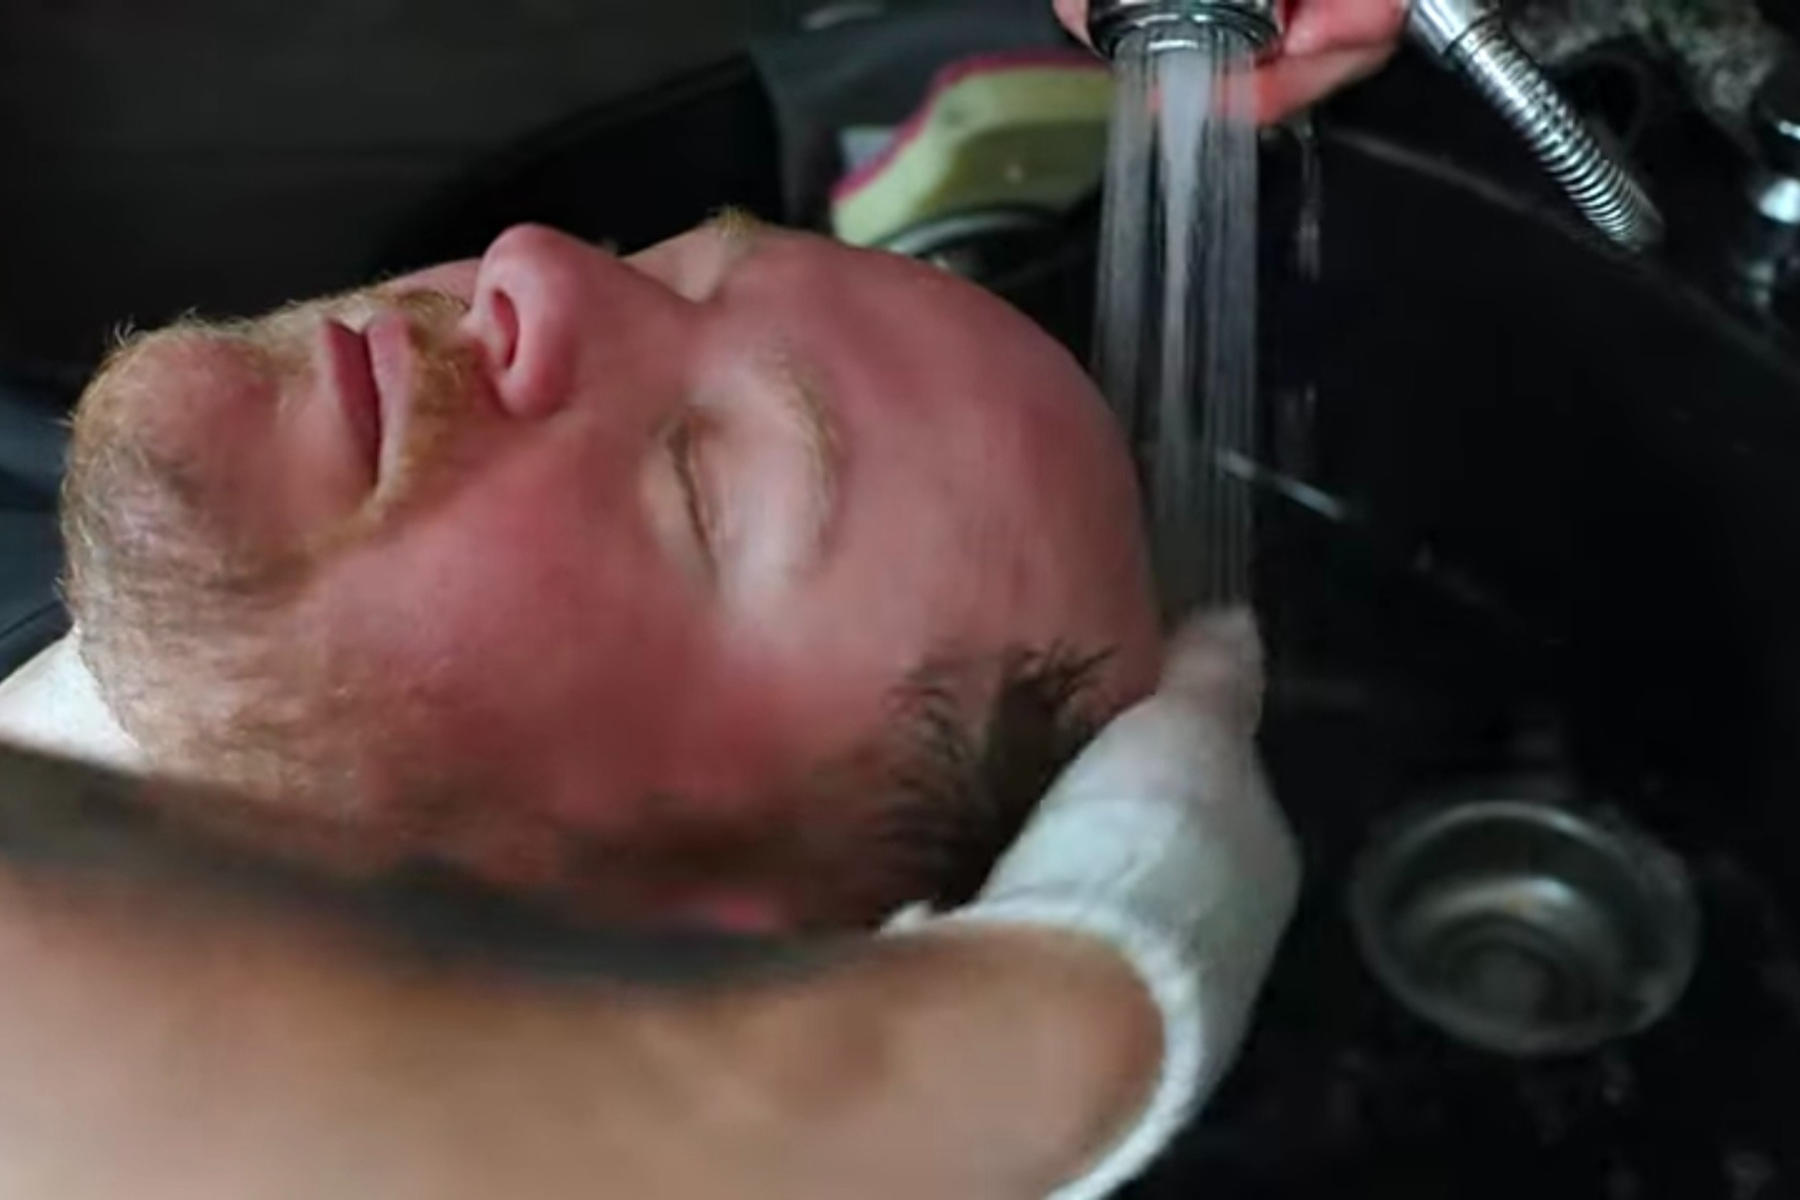
Jonathan is going to break down the process, so he is washing Nick's scalp right now. He is using a bit of a detergent to really make sure that that scalp is very, very clean.
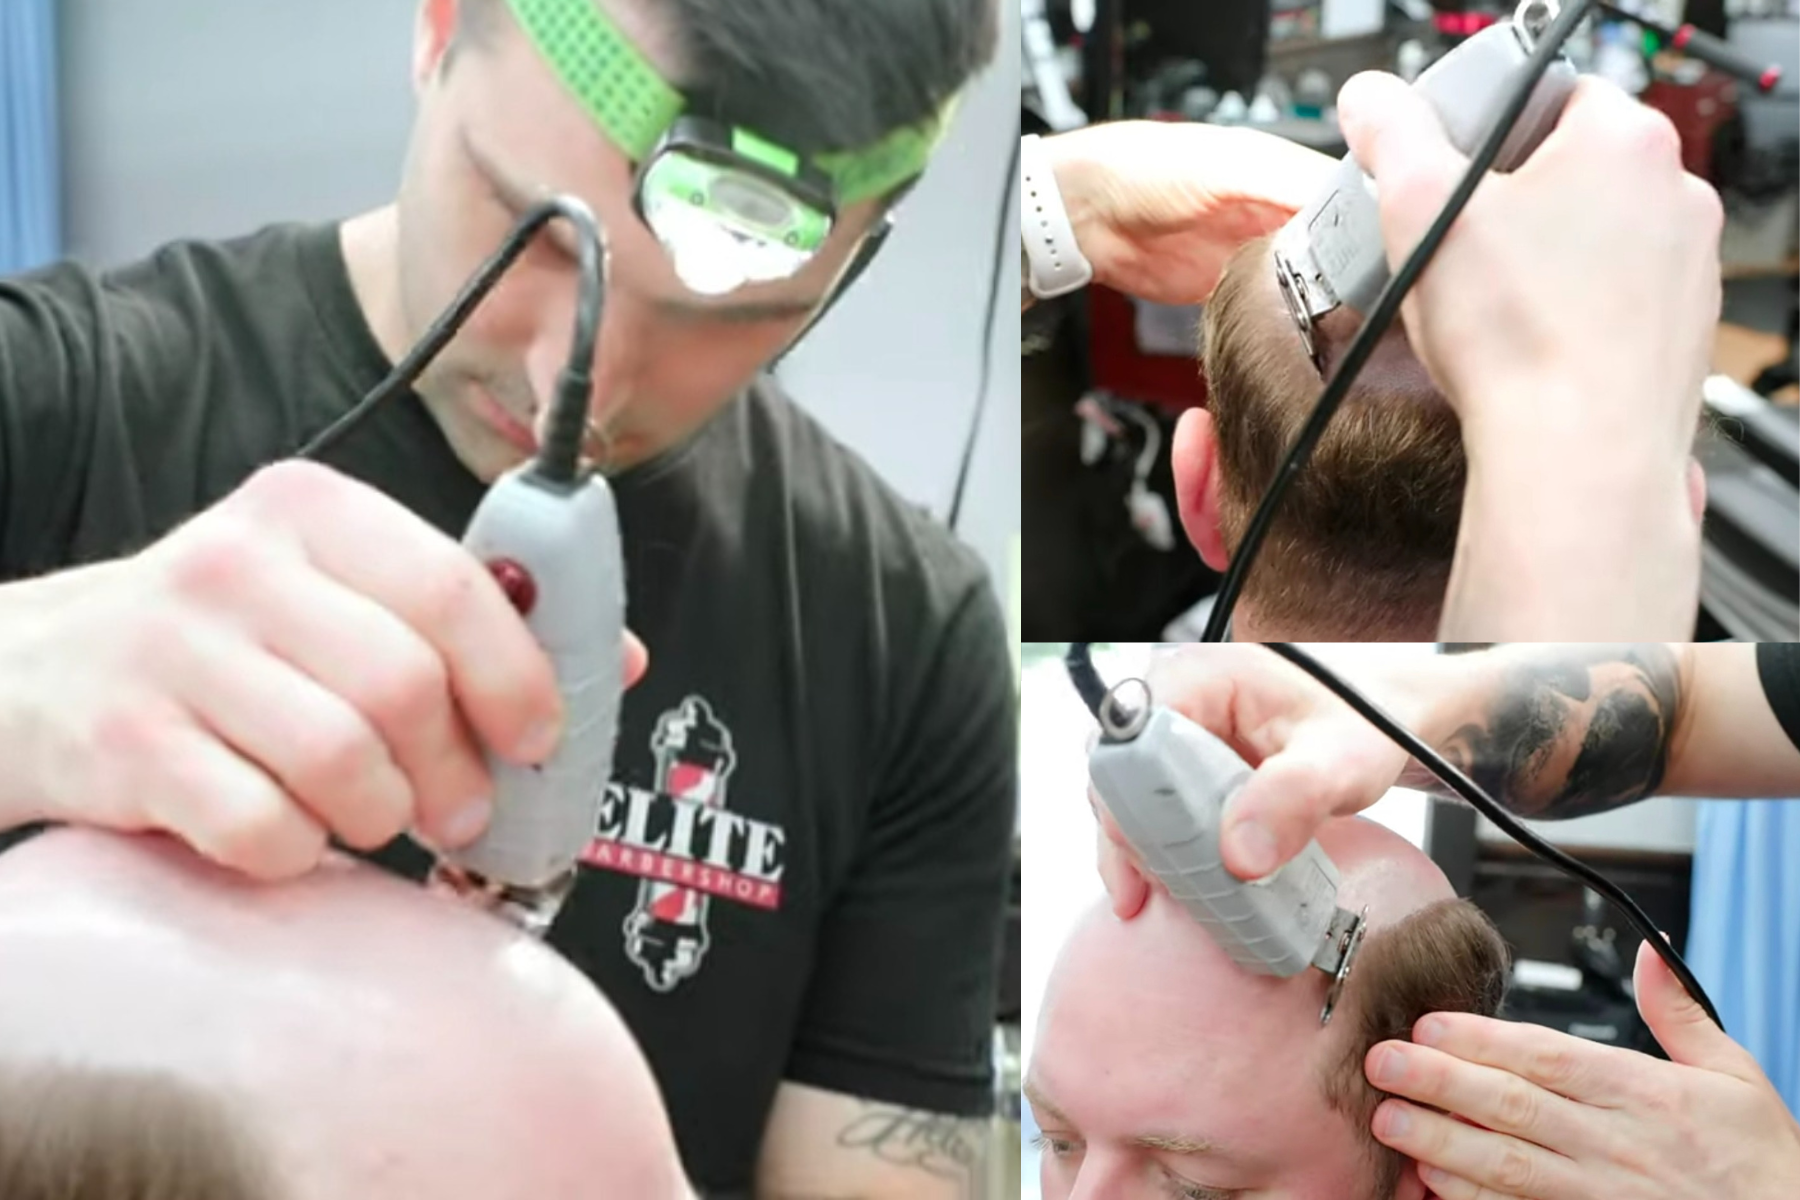
First of all, getting laser sharp to get rid of existing hair to make sure we're working on a clean canvas, and he likes to work in more of a square shape so that he keeps the same consistency when he is actually pre-cutting the unit.
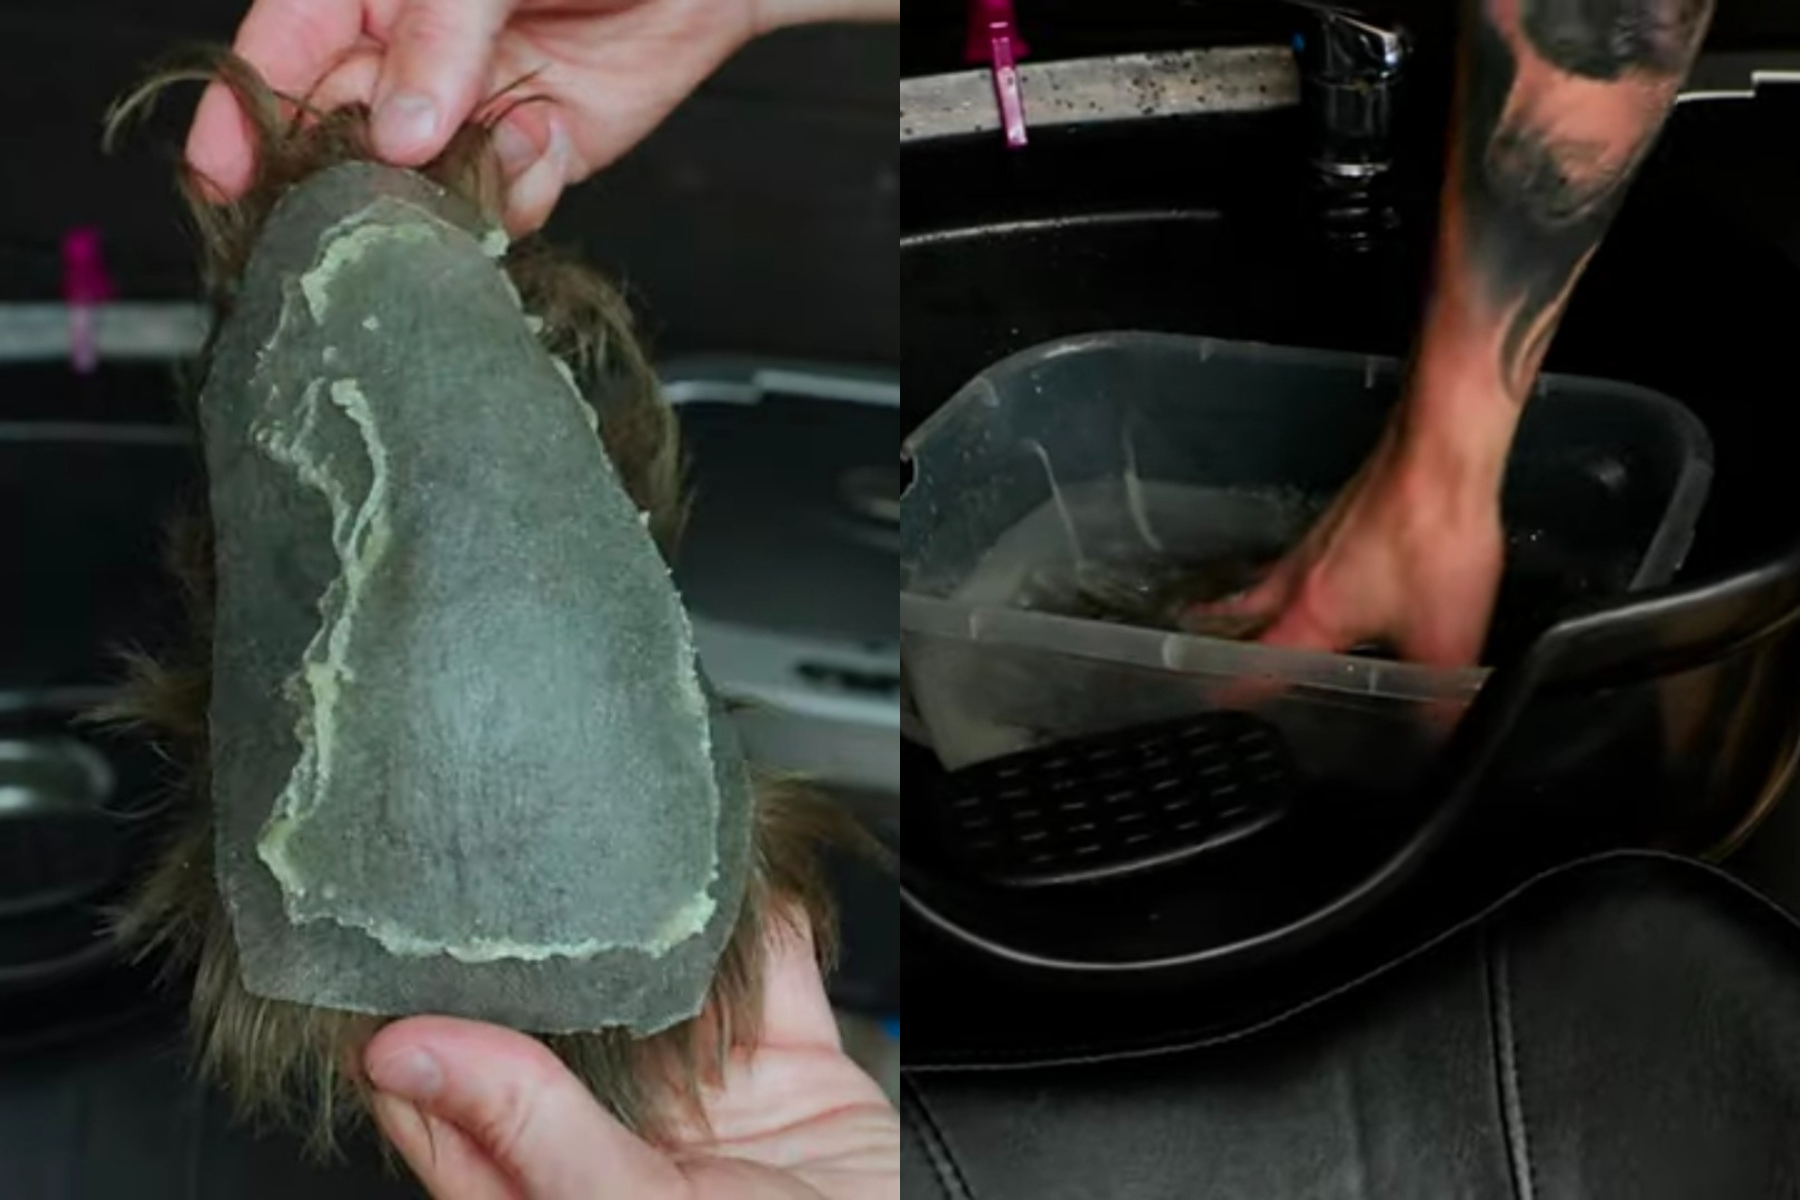
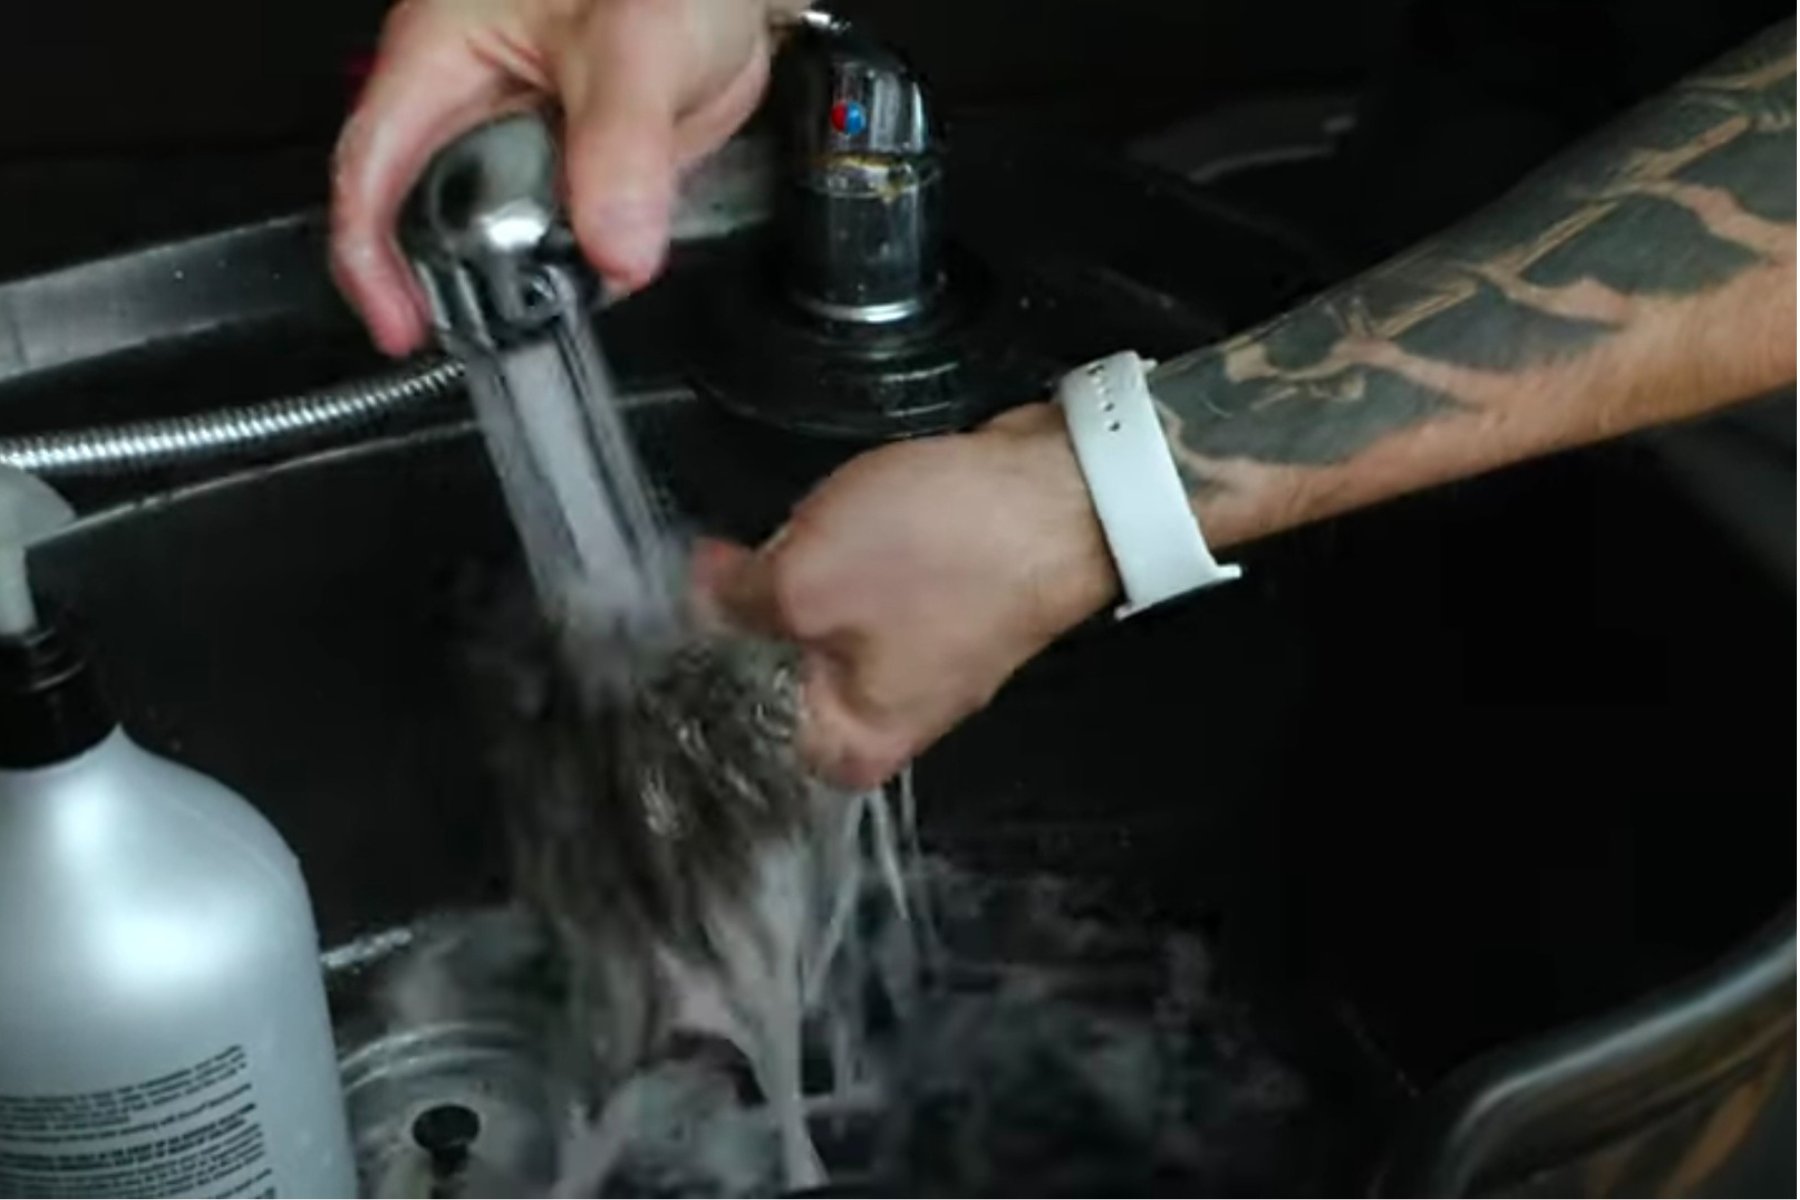
Now, take the unit and wash it with Lukewarm water. With warm water, the glue will melt slightly. The technique that he uses is pretty fascinating so let it sit for a little bit just to loosen up that adhesive, and now he's taking cotton, right? These aren't like cotton swabs, but they're more like a cotton type of roll, almost like a cotton towel.
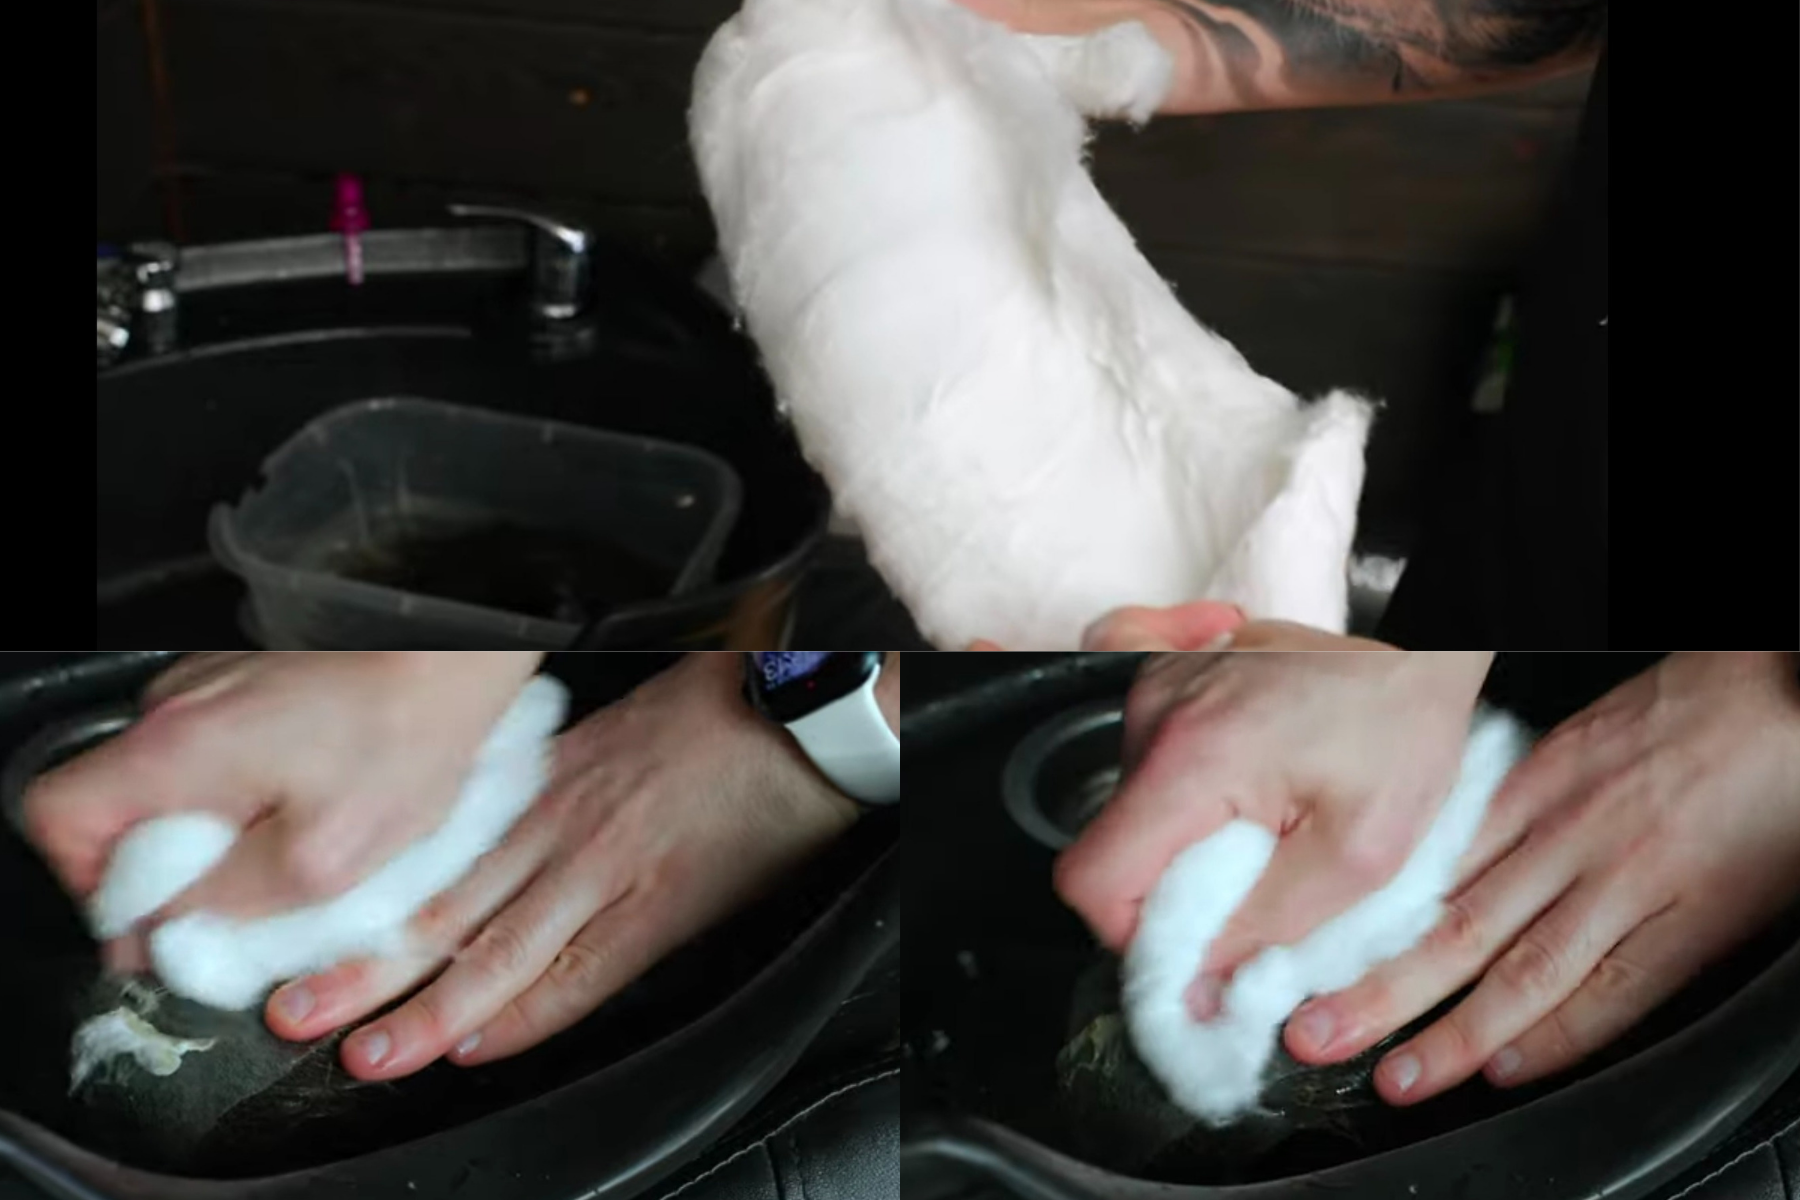
Now rub it on the glue with a soft hand. This will work to adhesive off the unit, and even though more aggressive, you have to use a little force to get the adhesive off.
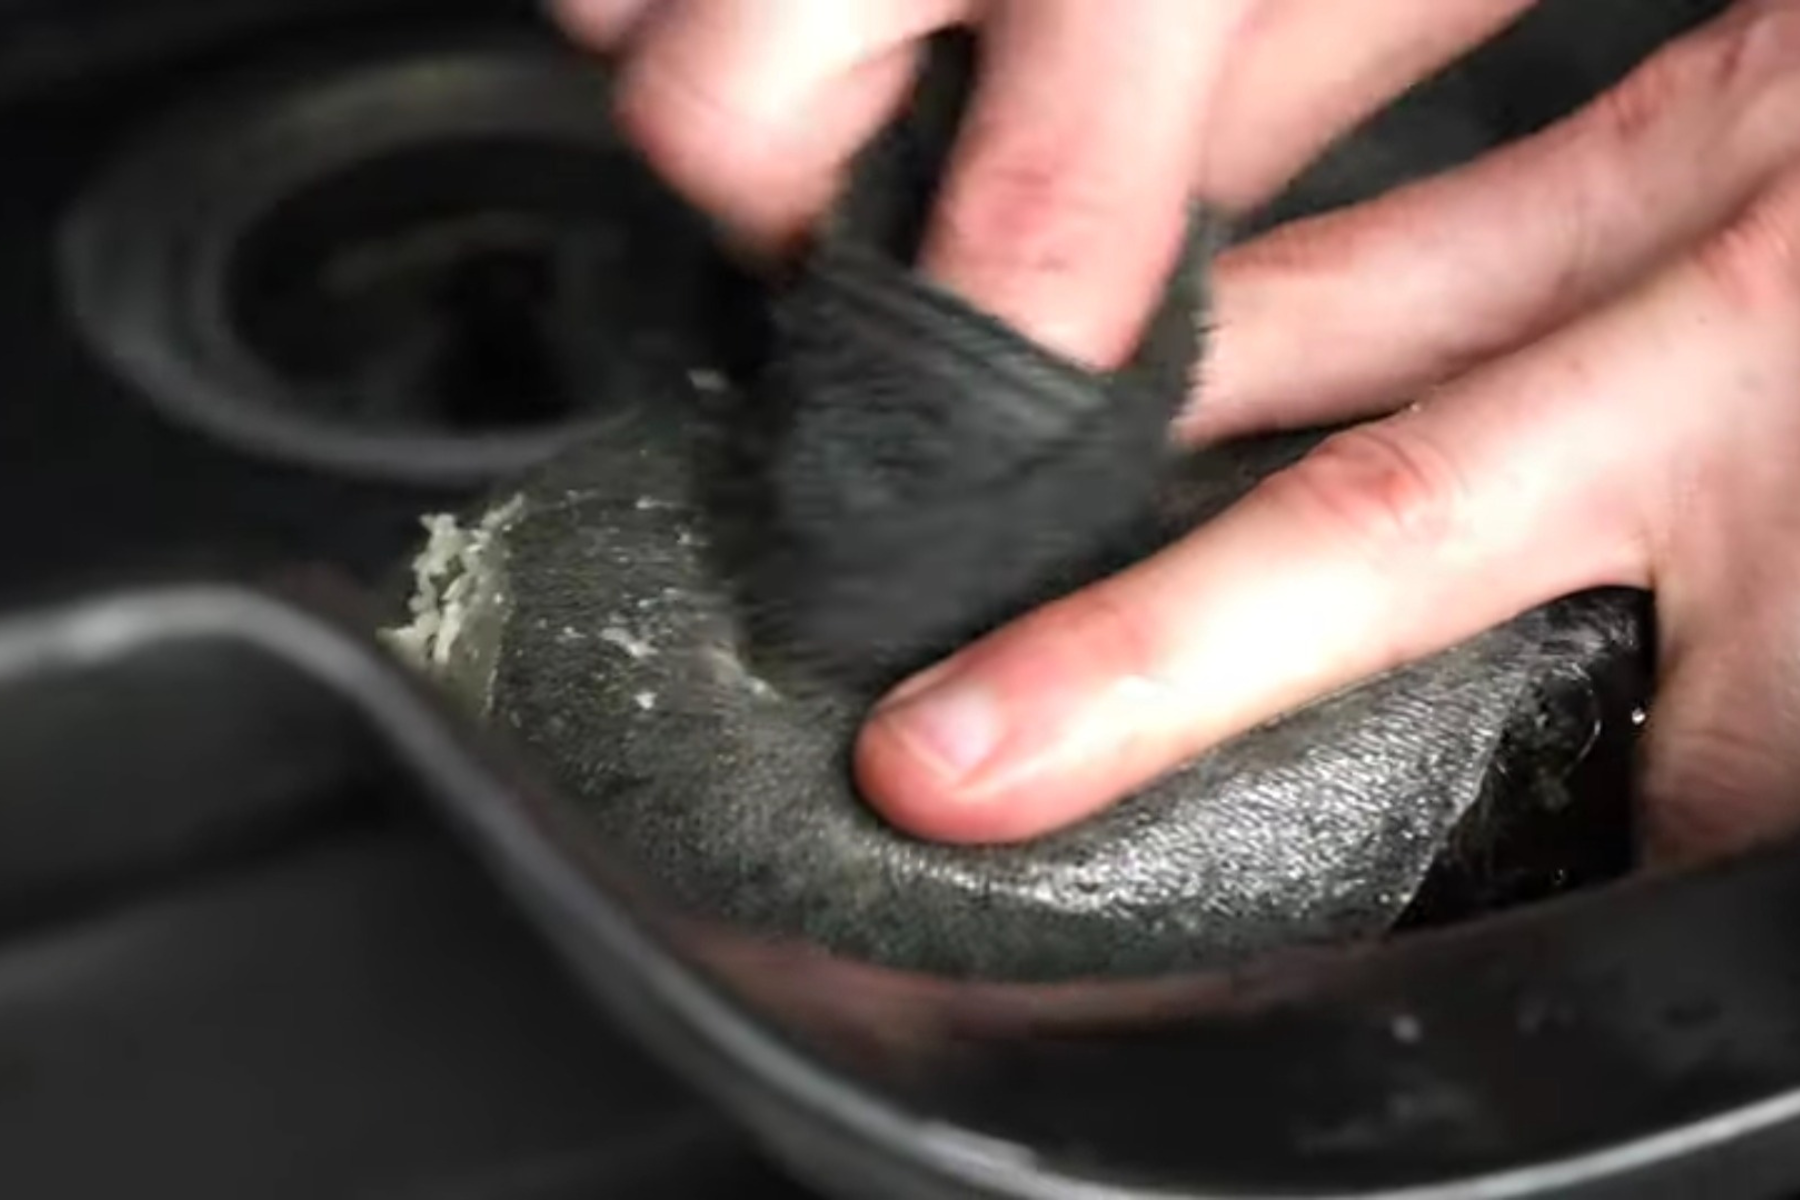
He is holding the unit down with his hand, his fingers, as you can see and look how it's coming right off of the unit right.
Maybe a little bit of baking soda, some shampoo, some detergent that also helps remove the glue while it's soaking, you know, and that makes it very easy.
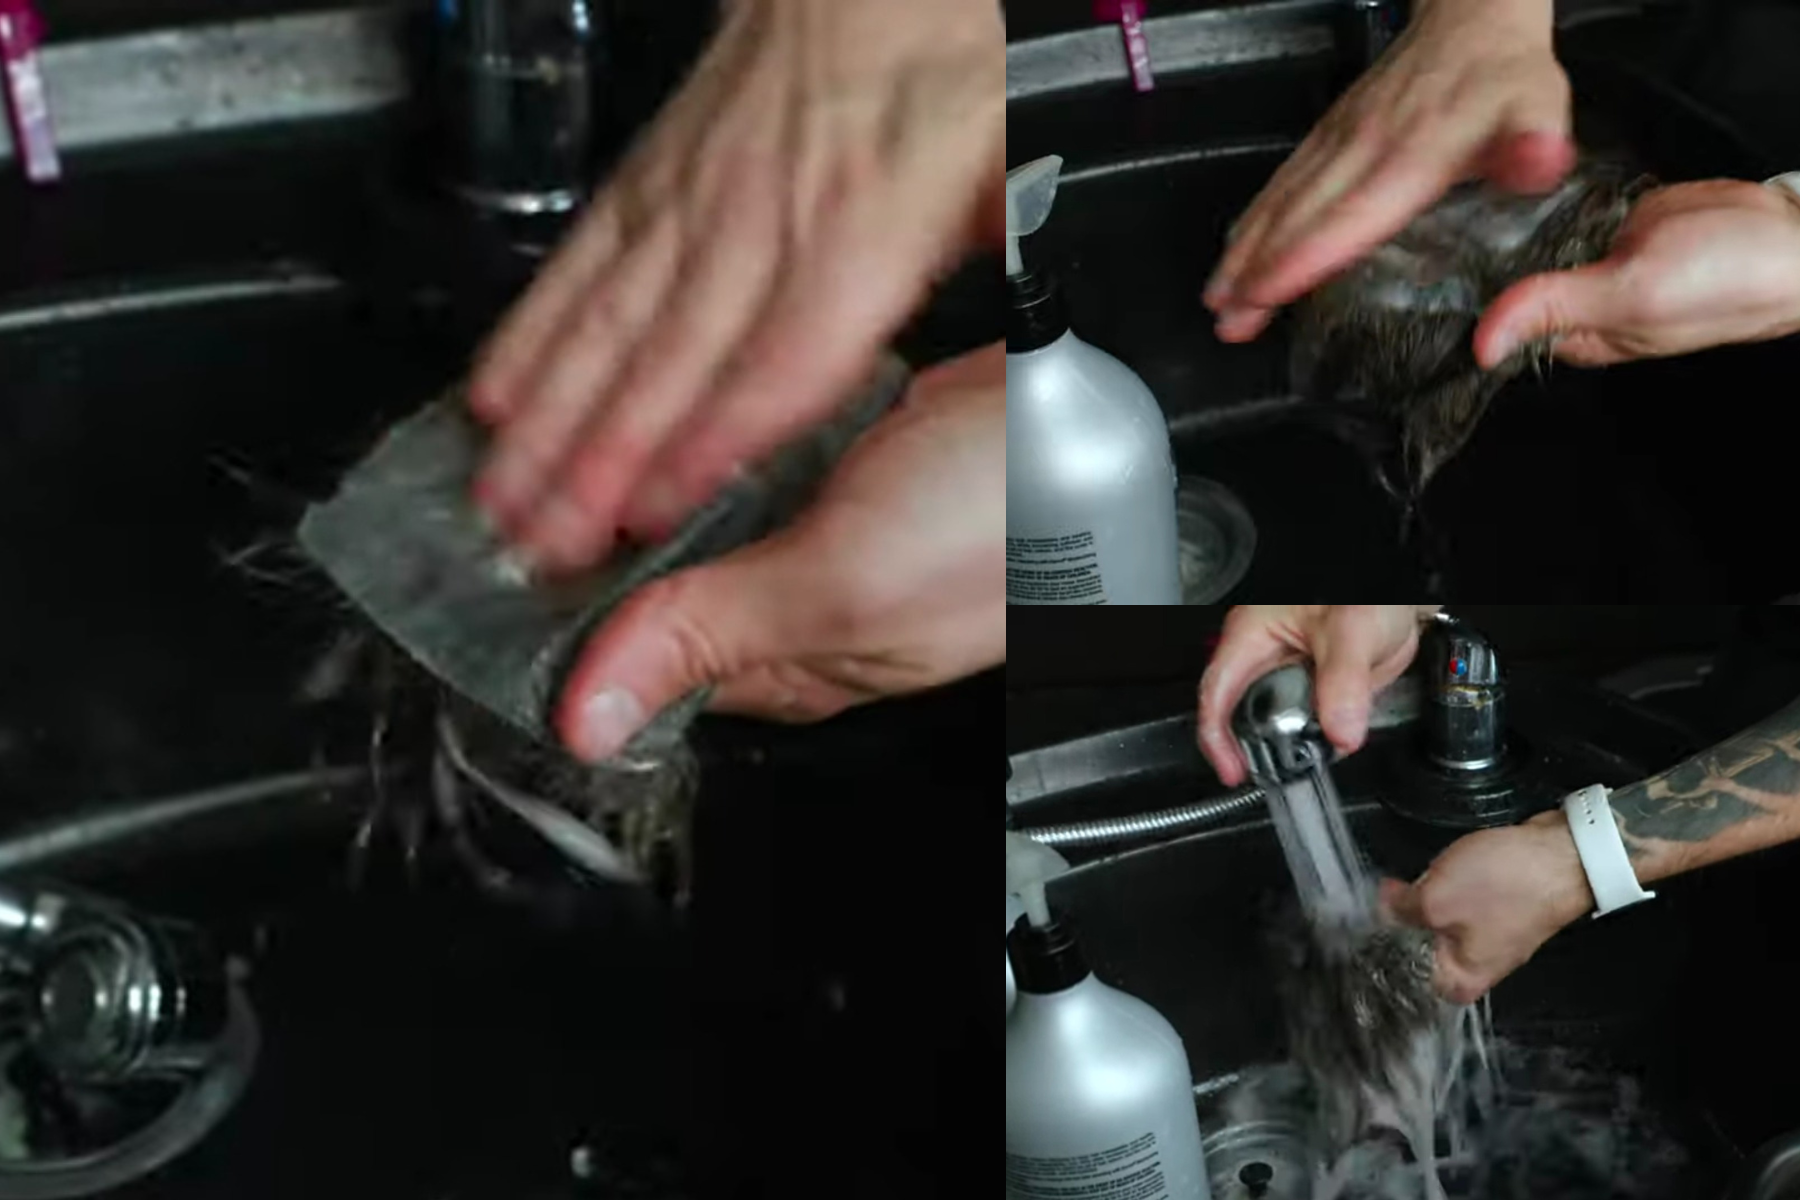
Now he has gone in with a towel right and just using his hand but also very, very gently, so here is again, just you know, with some warm water, some hot water just to loosen up that adhesive. It's just pulling right off. As you can see, you want to make sure again this is the poly base, so you want to make sure that all of this glue or this adhesive is entirely off of the base of the unit.
Because you don't want to have any interference. You want to work on a clean slate that also really helps with the longevity of the system of the hair and how on the scalp and how long it lasts right so here, as you can see now, just rinsing it off and making sure they get all the adhesive rinsed off of the unit. Then we begin the cleansing process and the conditioning process.
So use chemical-free mild shampoo and conditioner. This is something that is very
essential. Use these washing techniques for the process of shampooing. Don't use his nails and dig into the unit itself. He's using the palm of his fingers right, as you can see below.
 Not scratching, that's what's very, very important. You don't want to scratch because you could damage the unit, and you don't want to do that. You want to preserve and get as much out of this.
Now rinse the shampoo out, then go in with you now, maybe another shampoo if you want. Just use the conditioner. This is also very, very crucial because the conditioner does help with getting any detangling.
Now, rinse the conditioner out, but he leaves just a little bit in on the top part where the hair is to ensure it's easier to comb through. Make sure that it's thoroughly rinsed on the base.
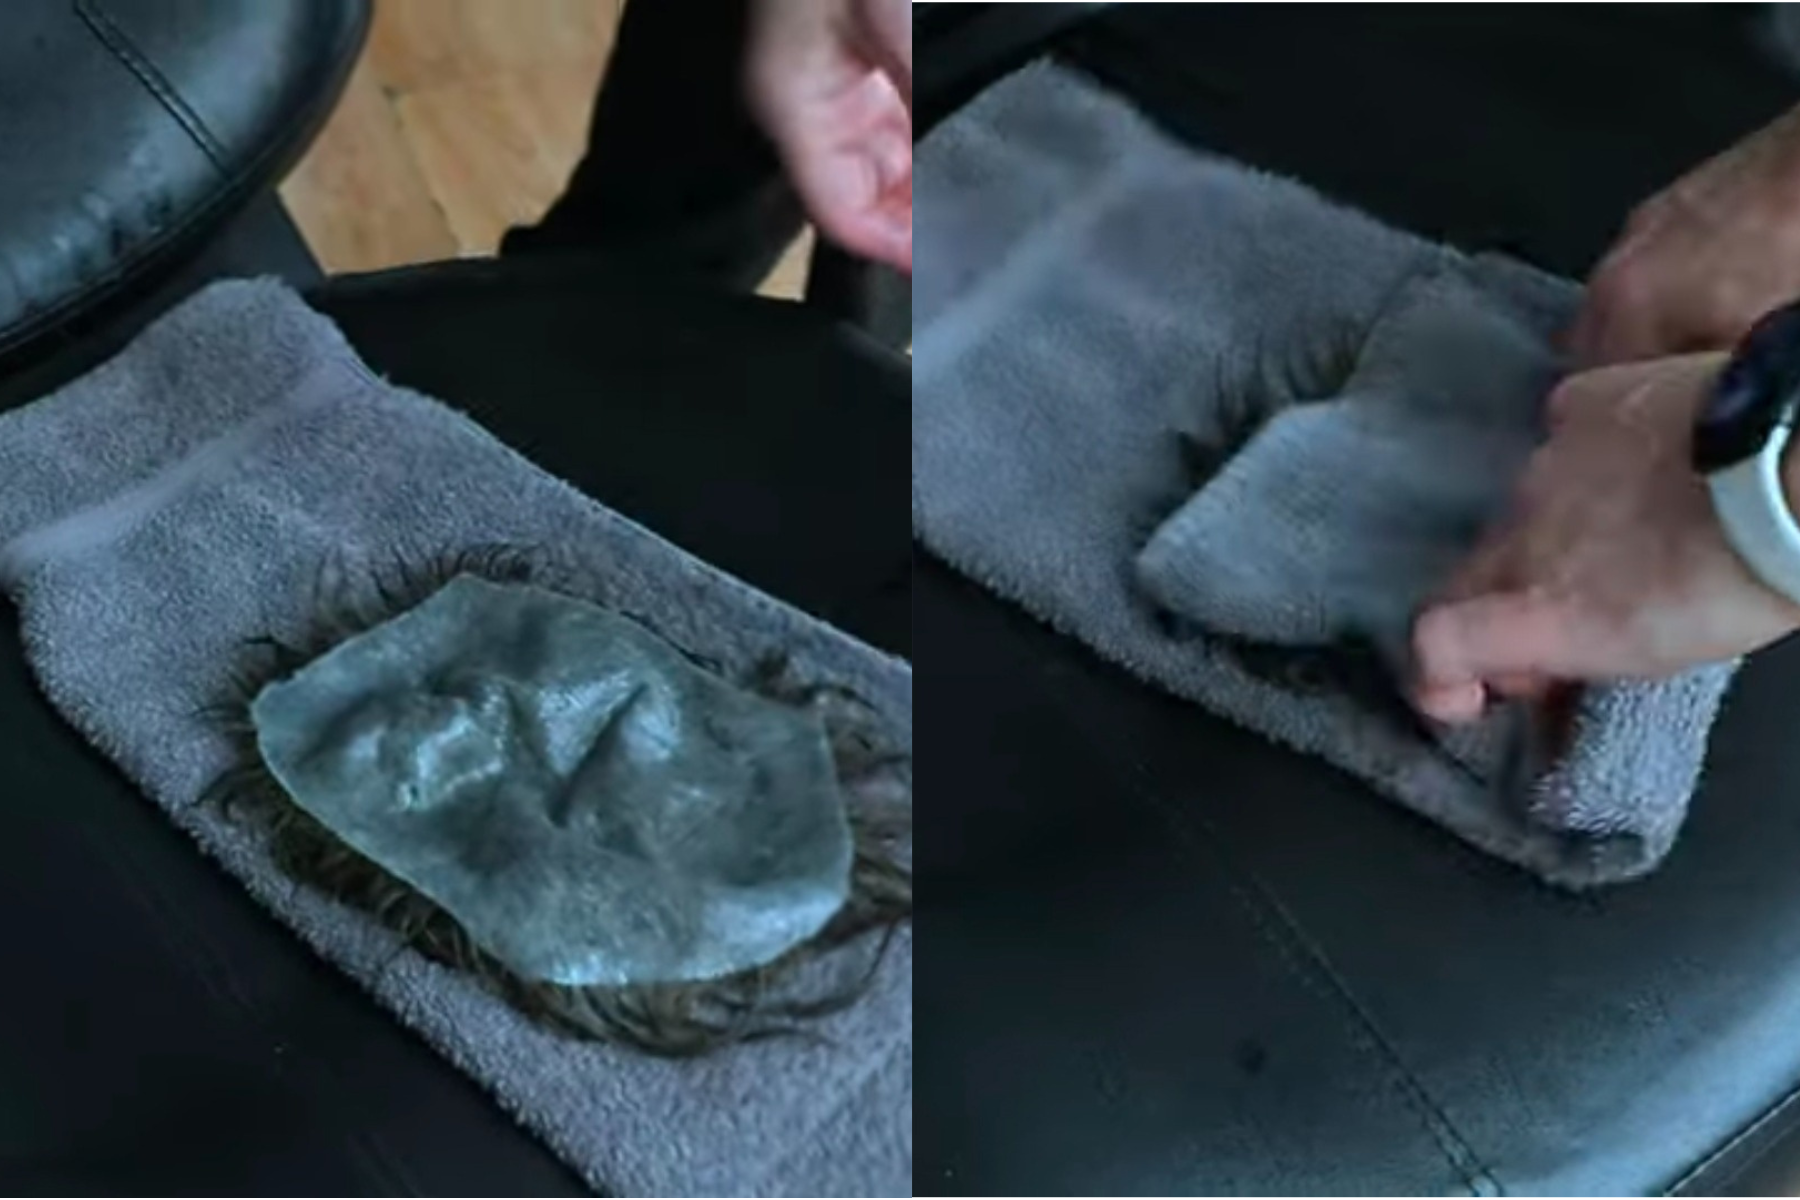
Then, he took a dry towel, put the unit on it and rolled it in. right rolling the unit and then just gave it a little push, squeezing out that extra moisture. It's a fantastic technique when it's completely dry out.

Now put the unit into the wig stand and use detangling spray. It will help remove knots and comb out easily without applying pressure and just really, really brush through.
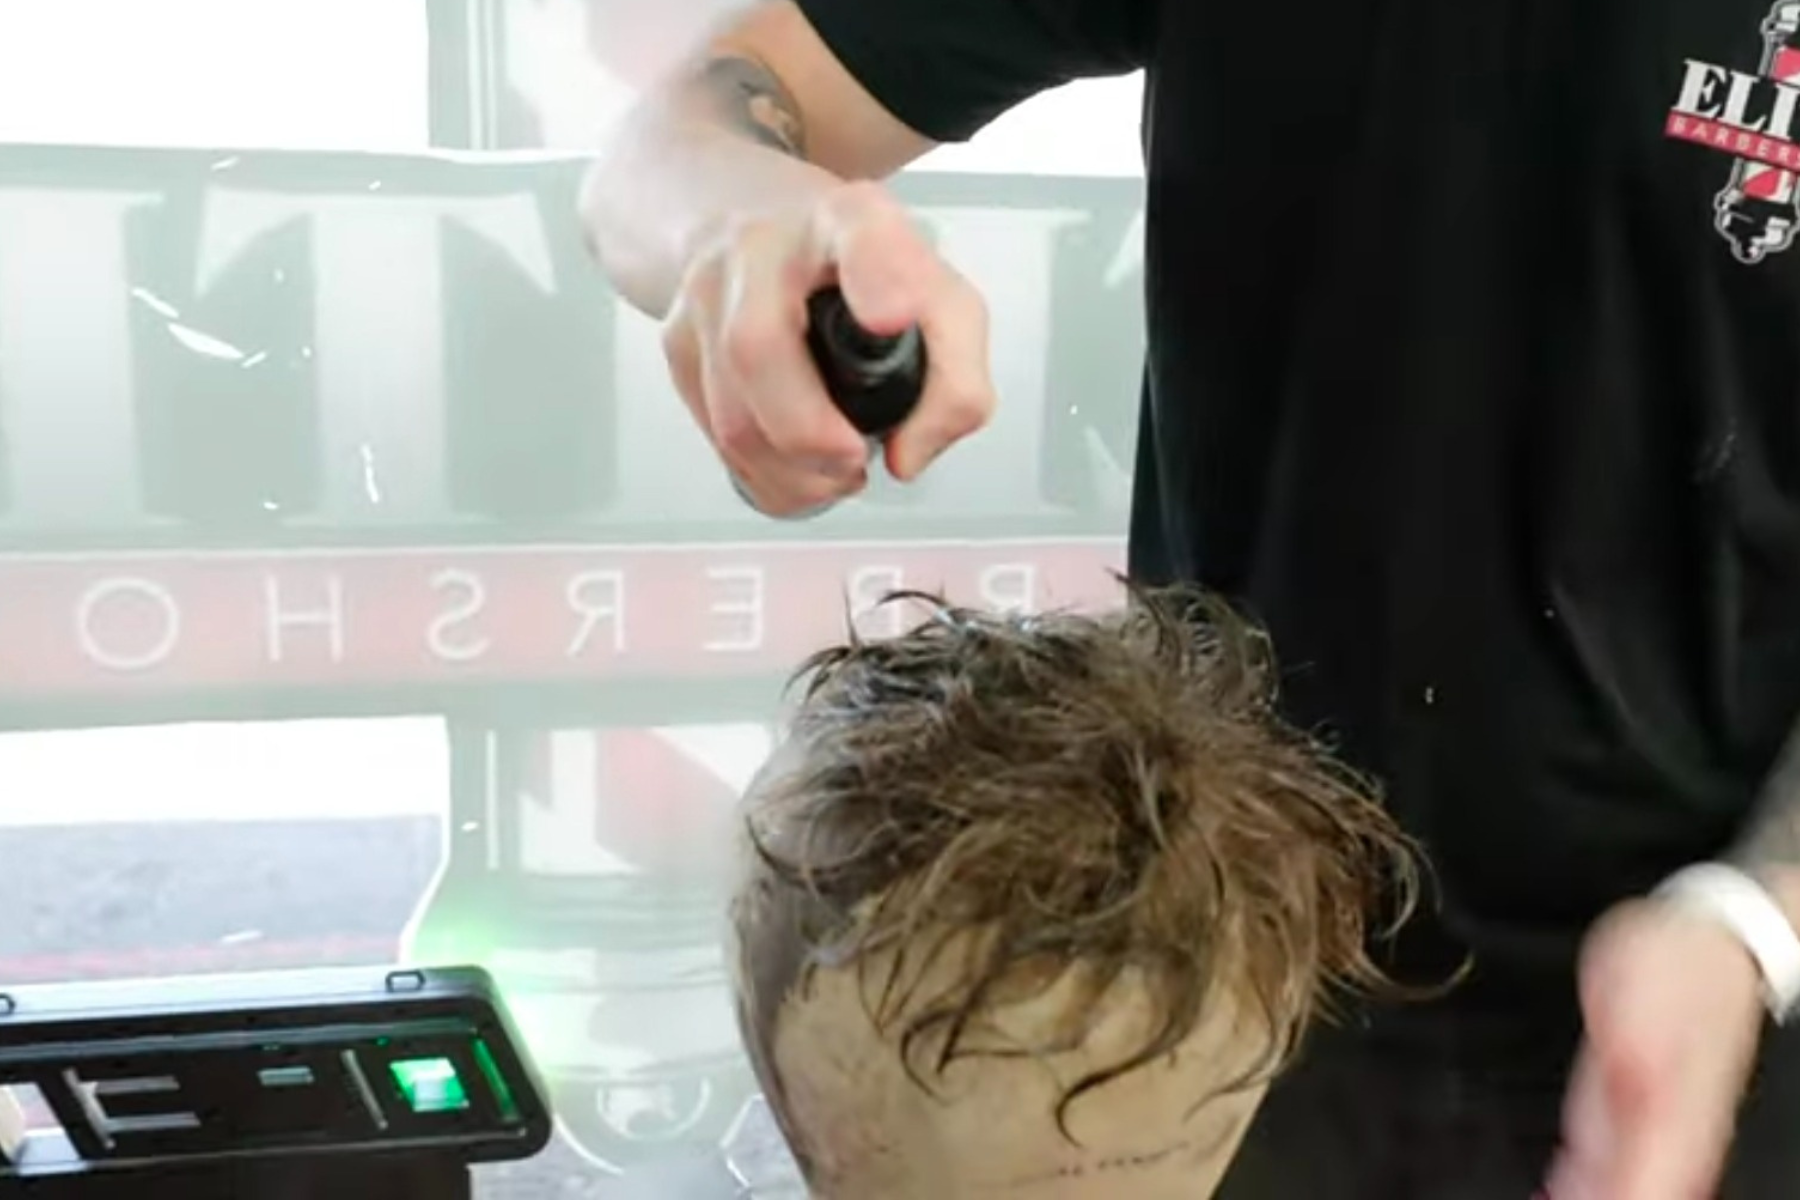
Now move to the client (Nicks) and spray on Nick's scalp to ensure there's no sort of residue or buildup.
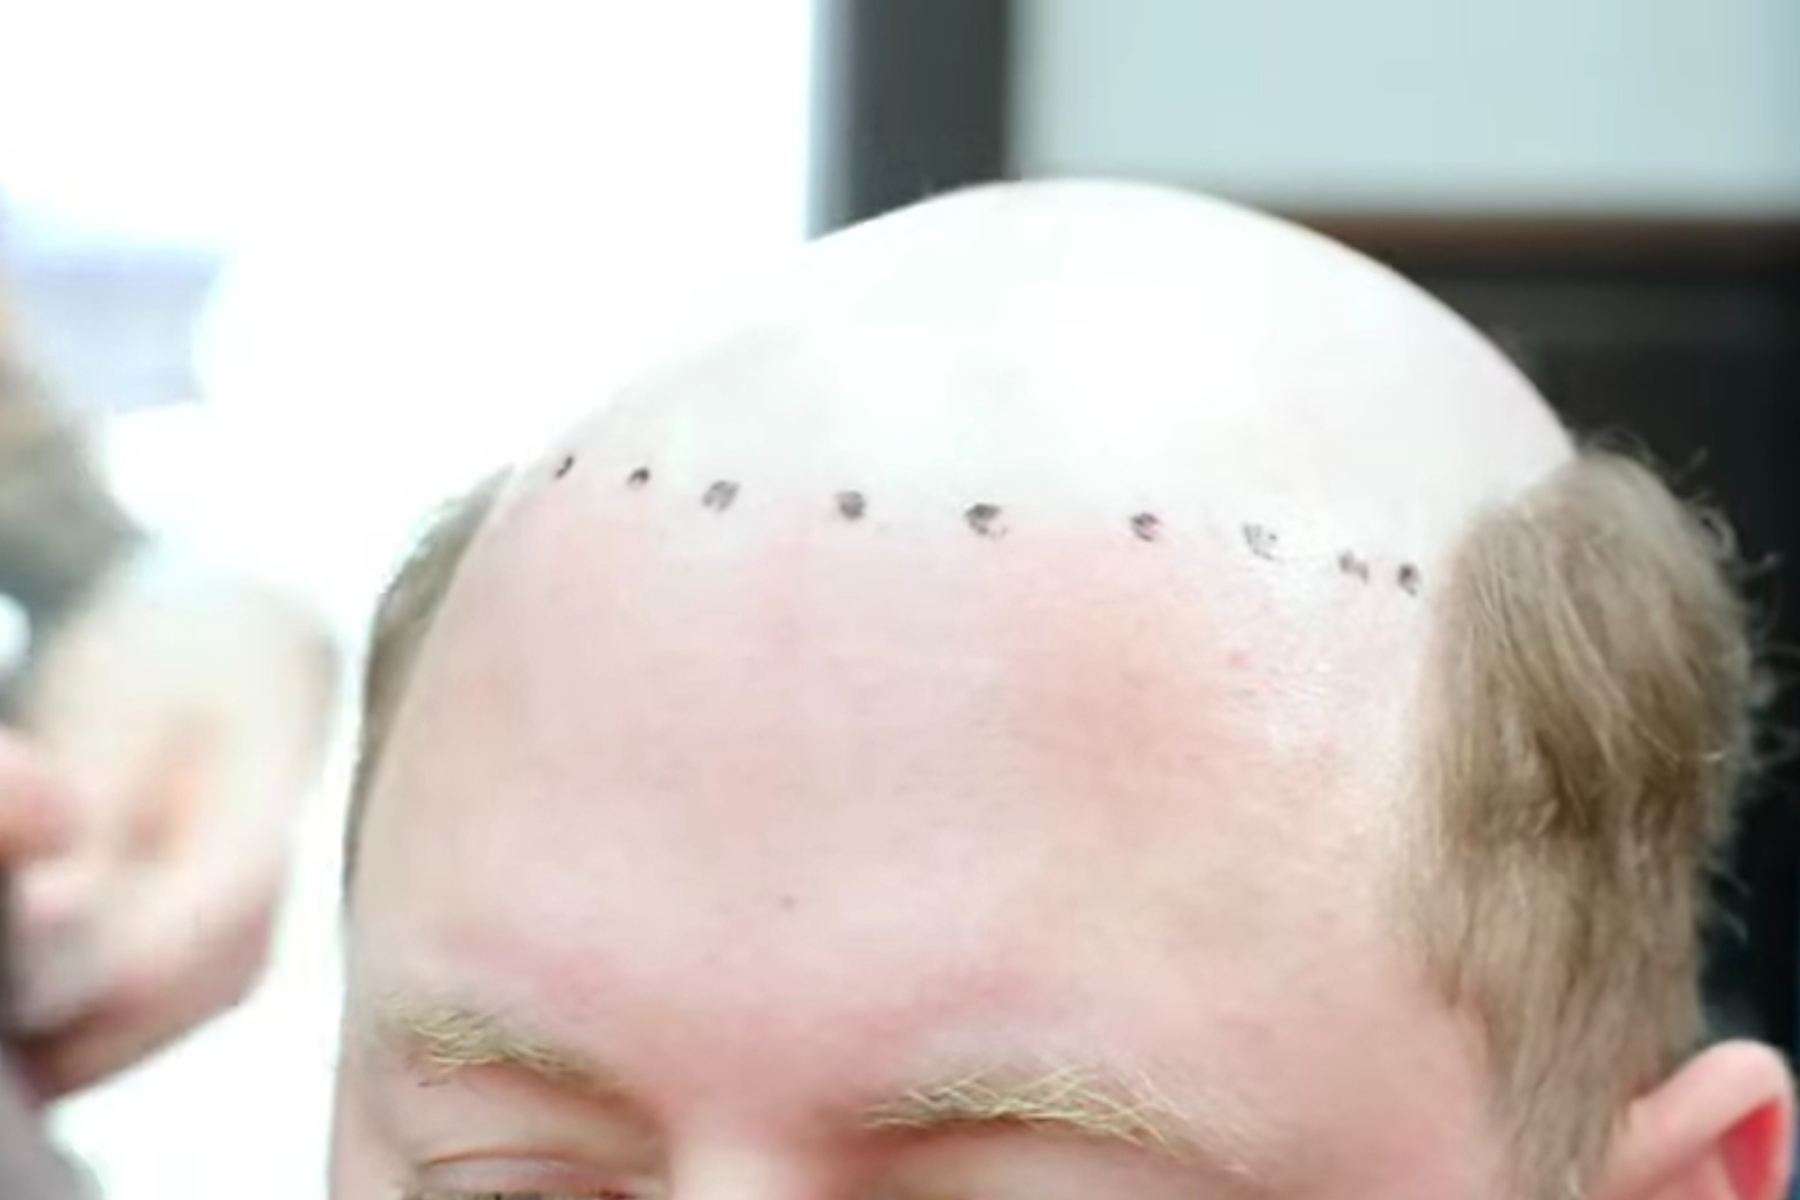
Now for perfect measurement, put the hairline four fingers up from the king of the bridge of the nose or the eyebrow area, and that's it, so this is a dry run, right, a test run. He lines up the hairline starting at the nose right.
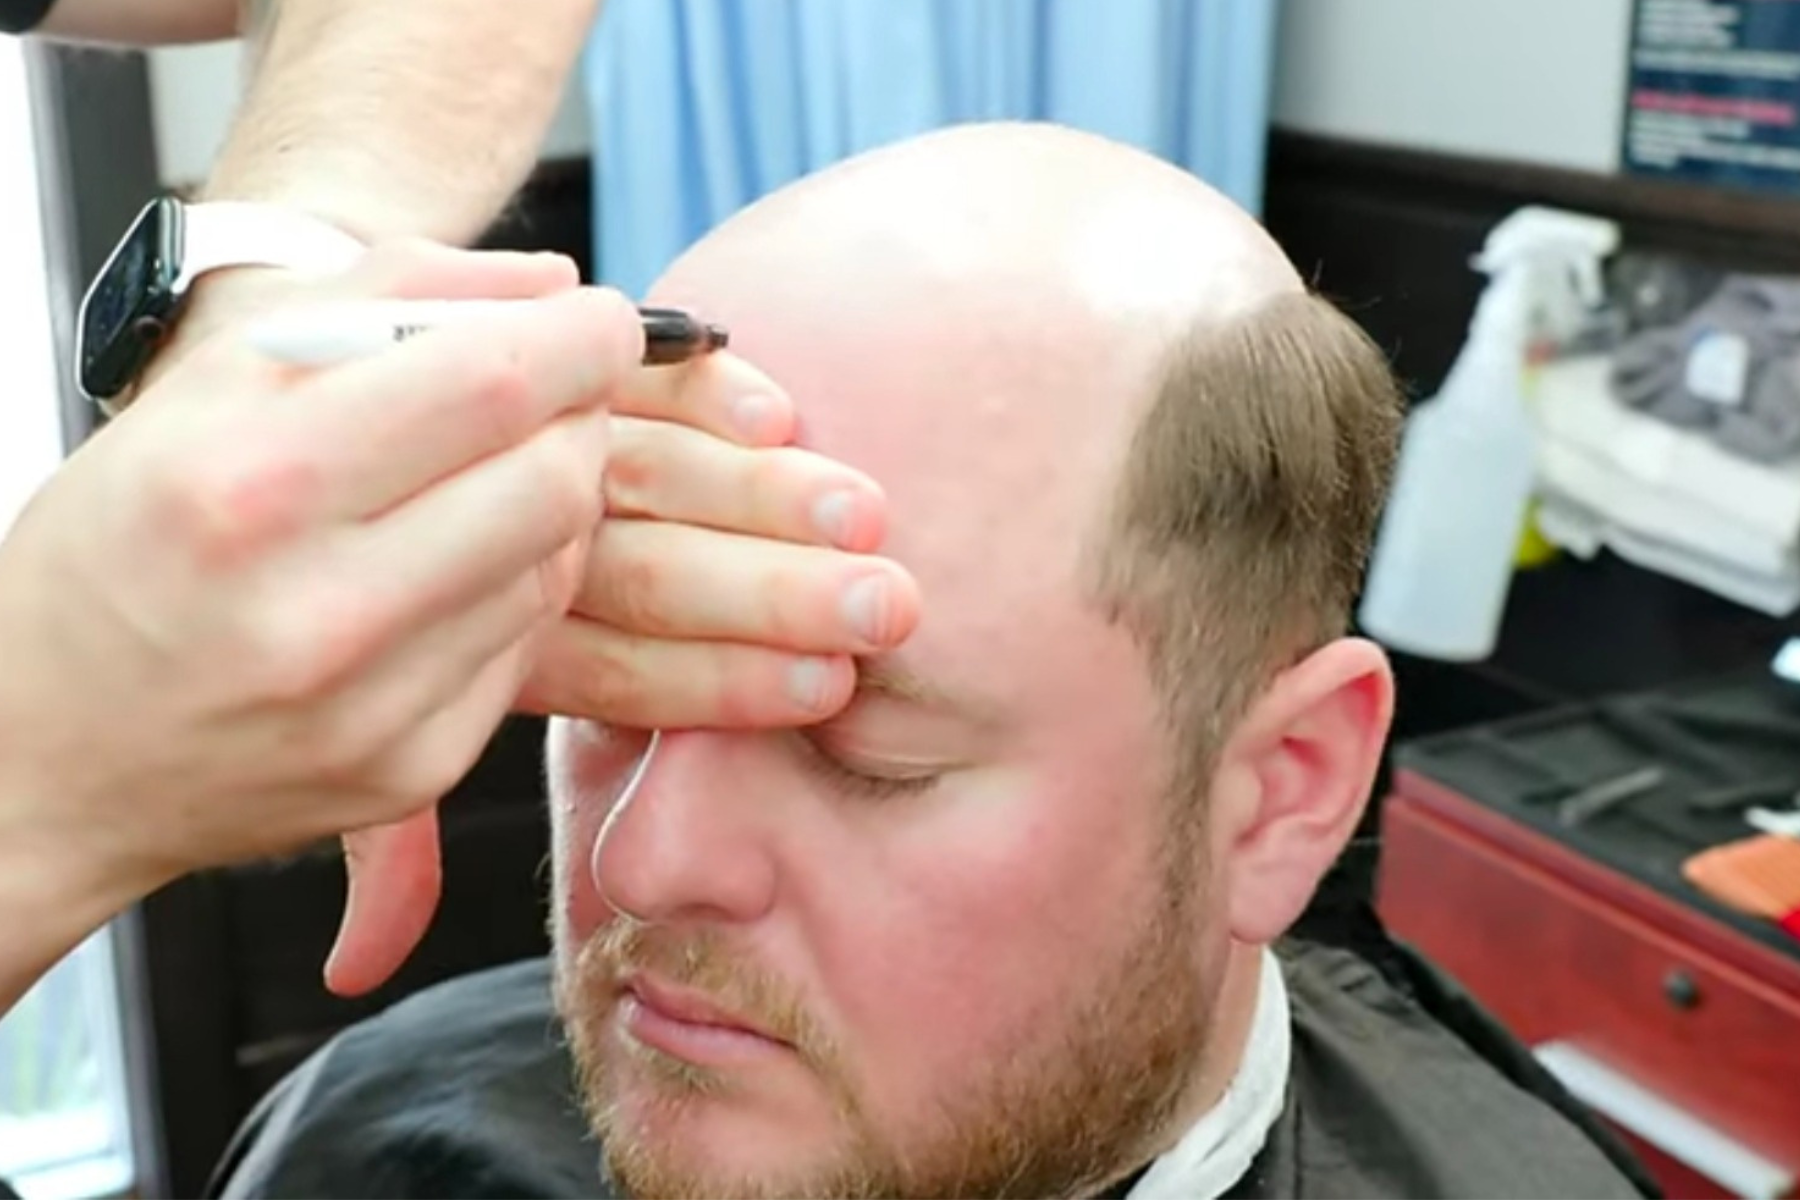
With the pen, you make sure to mark every point correctly and that everything is perfectly aligned, making all those minimal adjustments. Again, check the hairline to make sure it's going to be lined up perfectly because once the adhesive is on the scalp, you only have that one chance to lay it on.
Now spraying a little bit of that same rubbing alcohol onto the unit makes sure there's nothing left on the base.
It is now spraying on some again a conditioning spray or a scalp protection type of spray to ensure that the scalp is protected and that it will be in good condition.
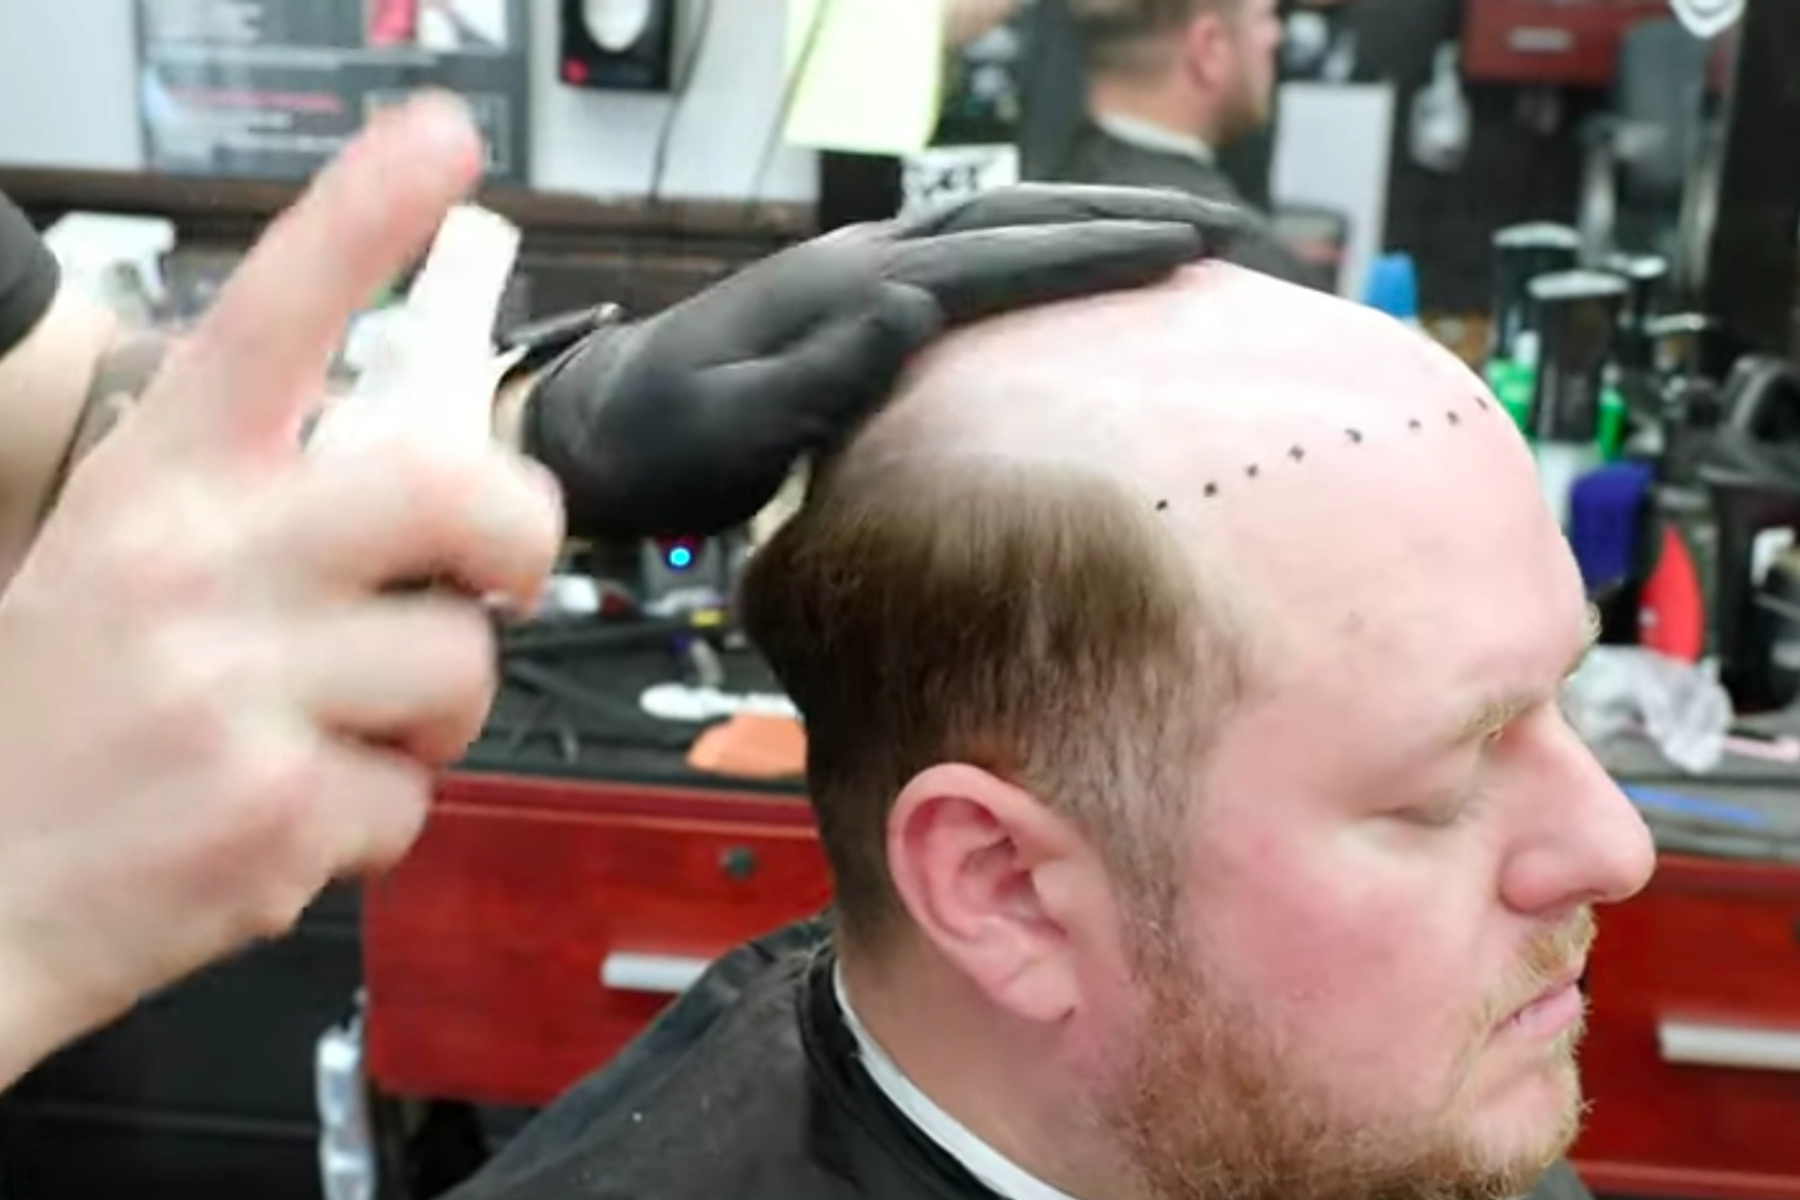
Now it's essential to finish up the haircut while the adhesive is drying on the scalp. Cutting hair and it's flying all over the place, it will get stuck to his scalp, and you do not want that so instead.
Now getting it all ready now, he's going to be using the ghost bond to be applied to nick's scalp, and he likes to squeeze it to get any sort of excess glue, so there's an easy application and also, those applicators that he had they were like applicator sticks with cotton on them.
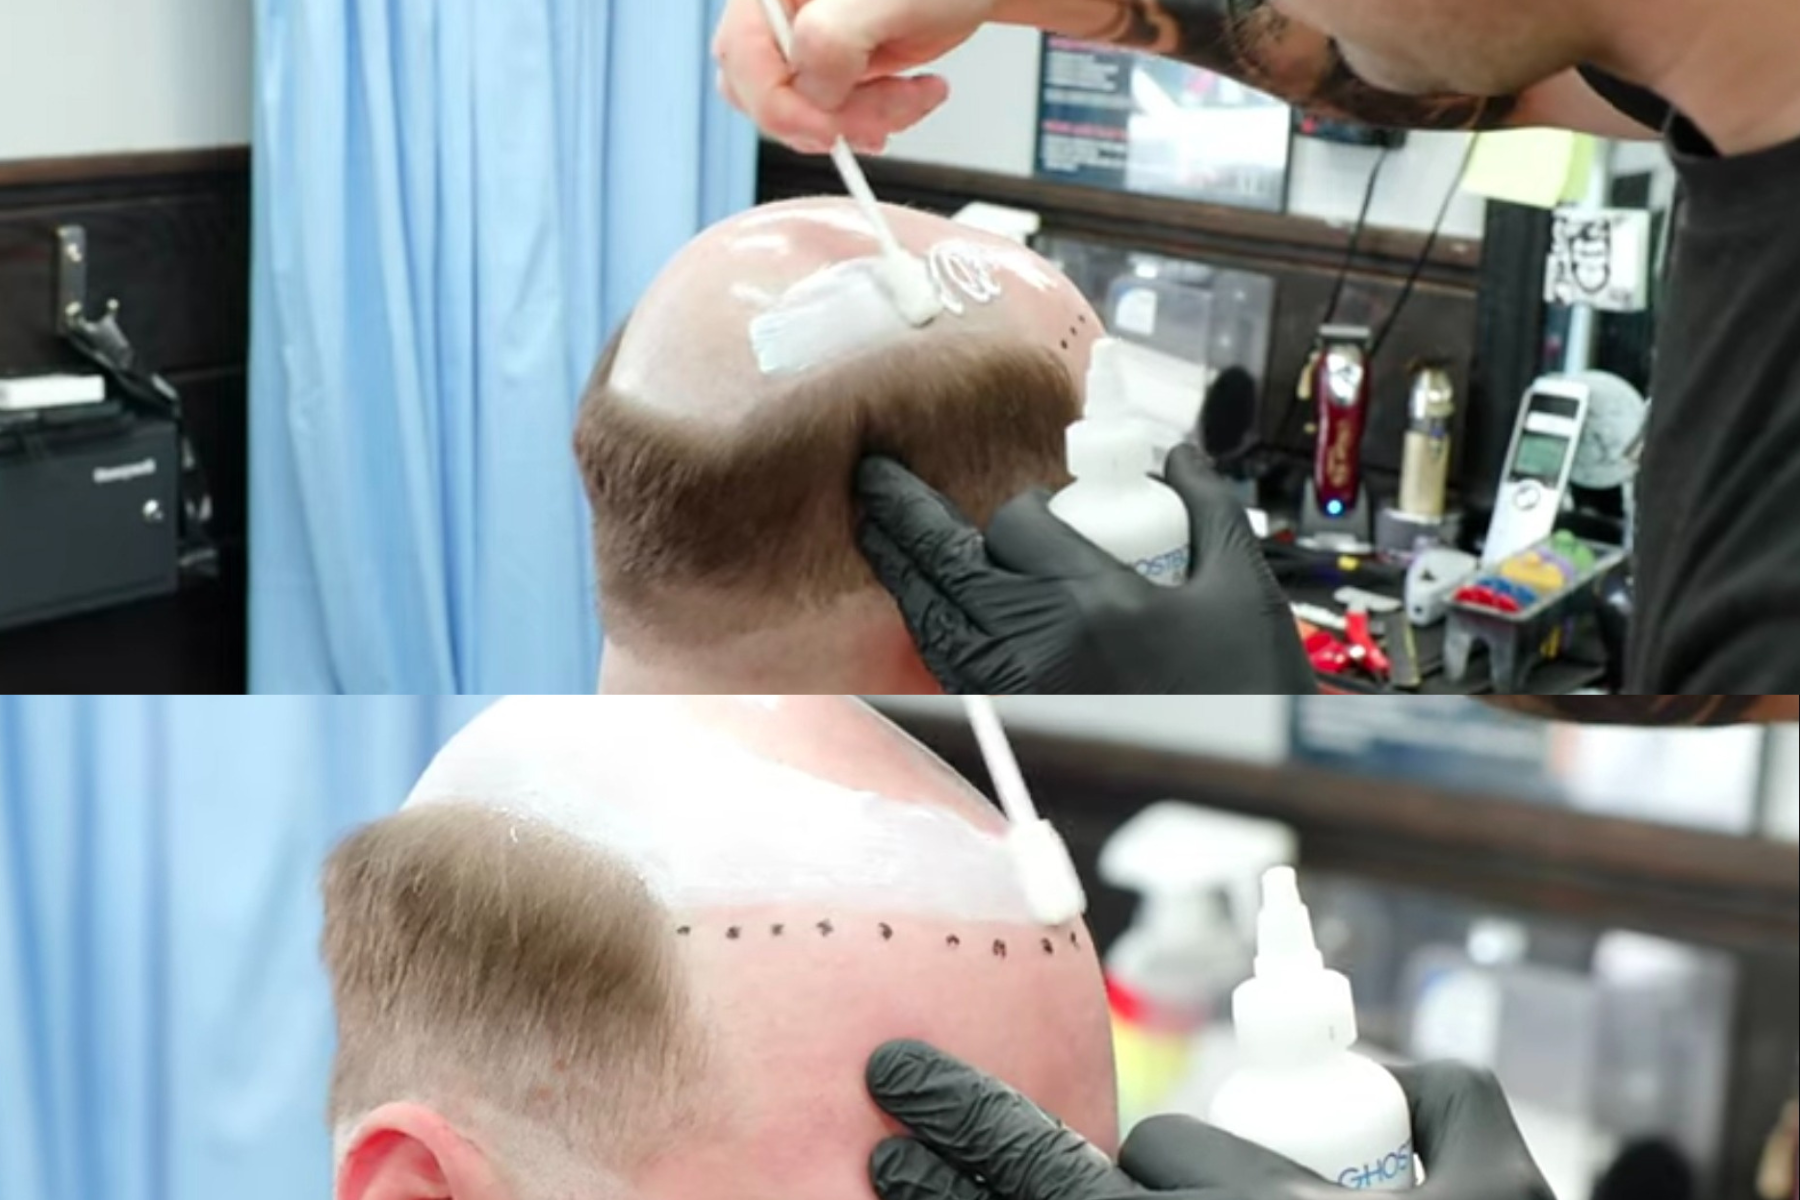
After proper application of ghost glow on the nicks scalps, then blow drying it right low speed right high heat to kind of gently get the adhesive to dry a little bit quicker helps speed up the time. This trick also helps to make the unit on the scalp long-lasting.
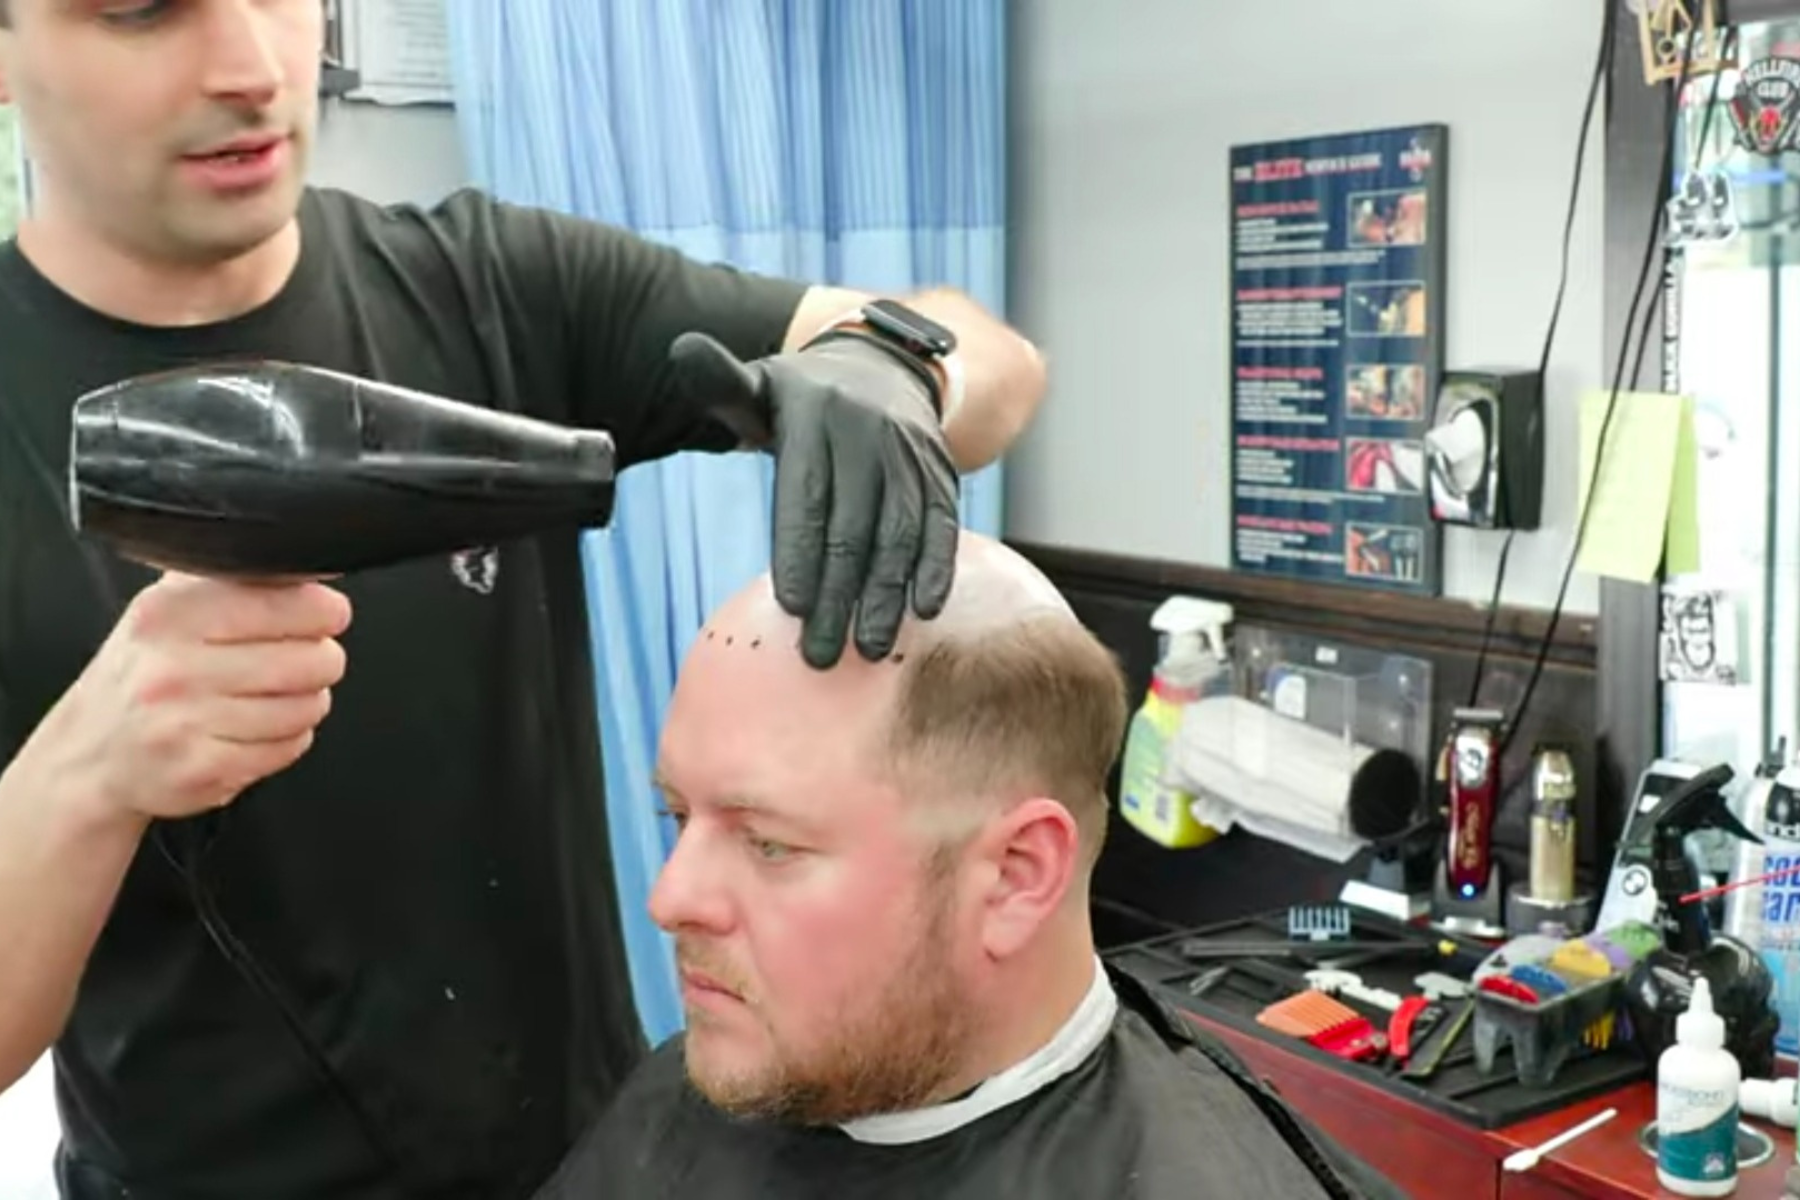
It's better to apply glue on the scalp again. It's really really strong stuff. Now apply a second coat because you want to get it to the point where the adhesive pretty much goes from white to fully clear.
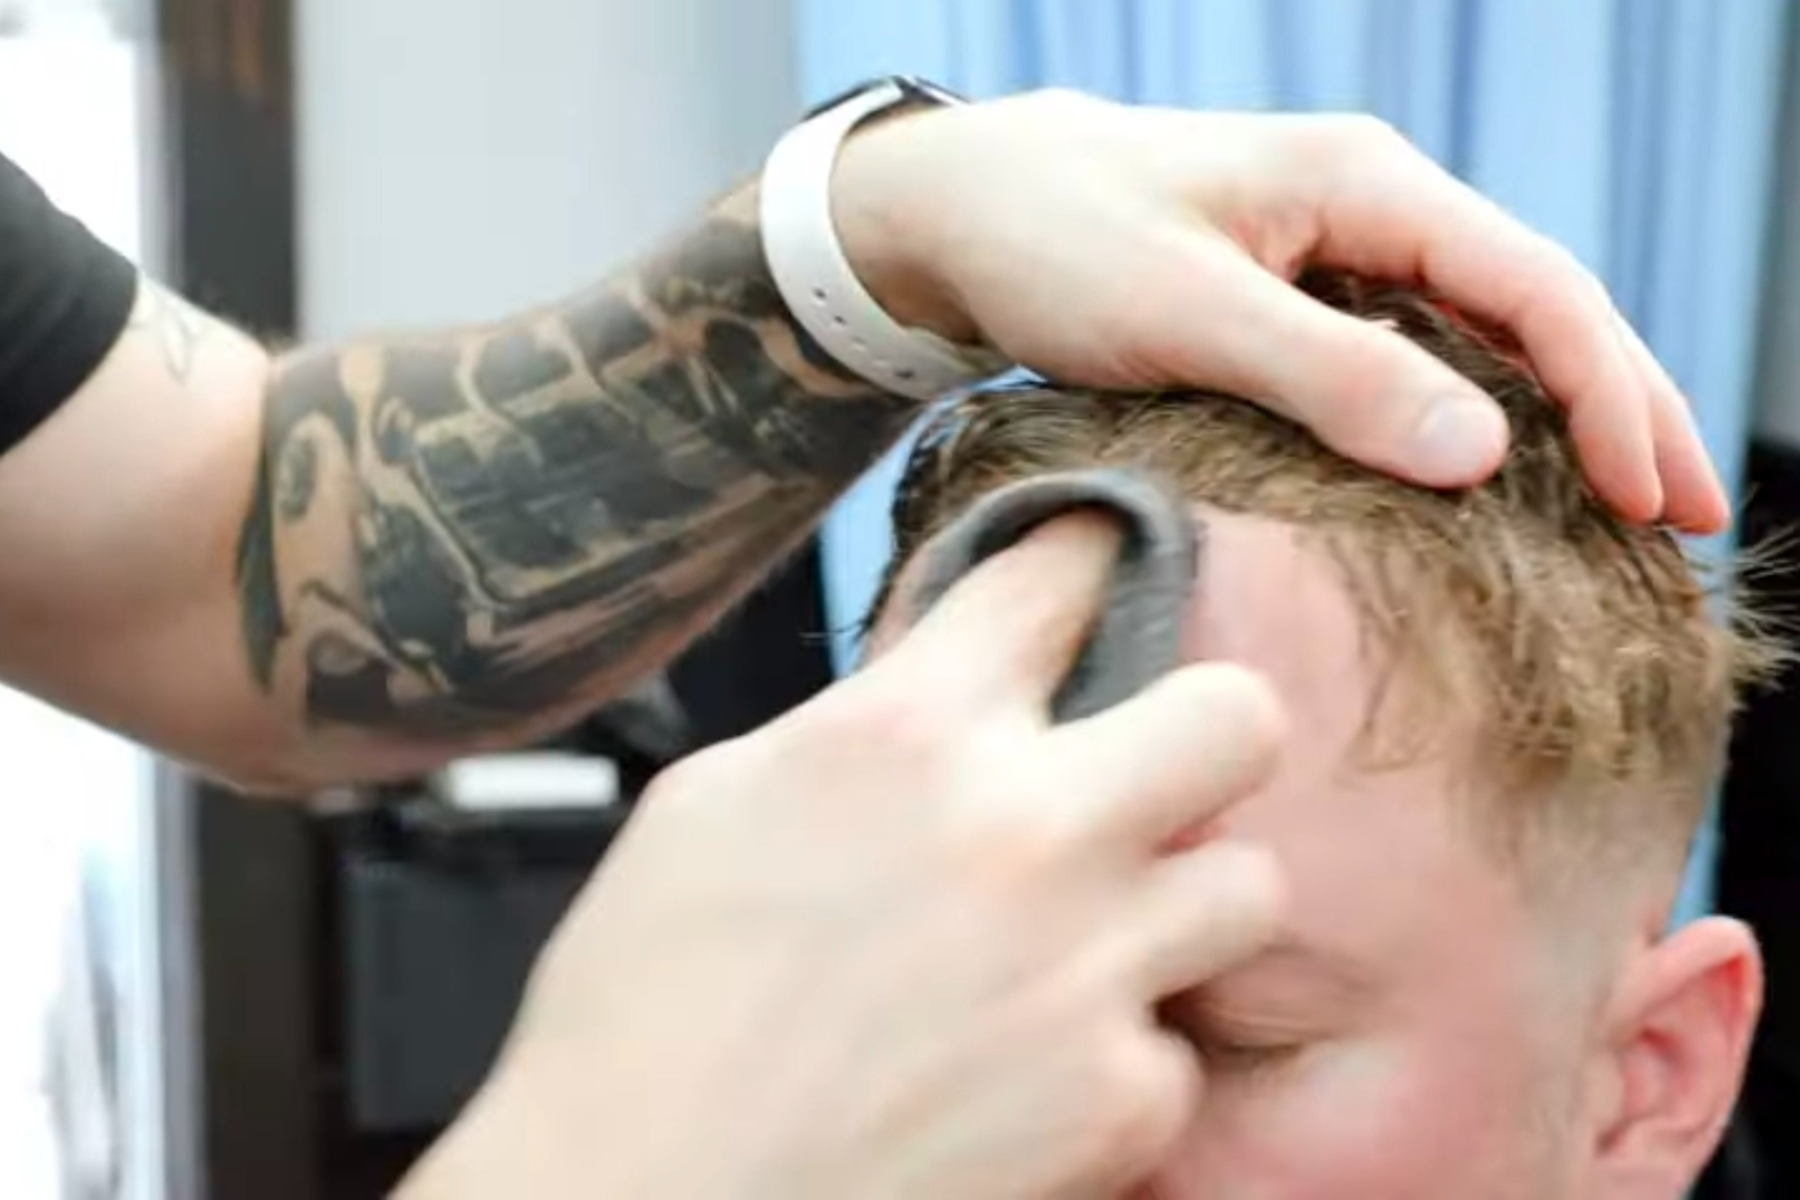
Again making that square shape when he did with the trimmer shaved off all of Nick's remaining hair. He shaved into some of his natural hair to create a more consistent base and a more consistent pattern.
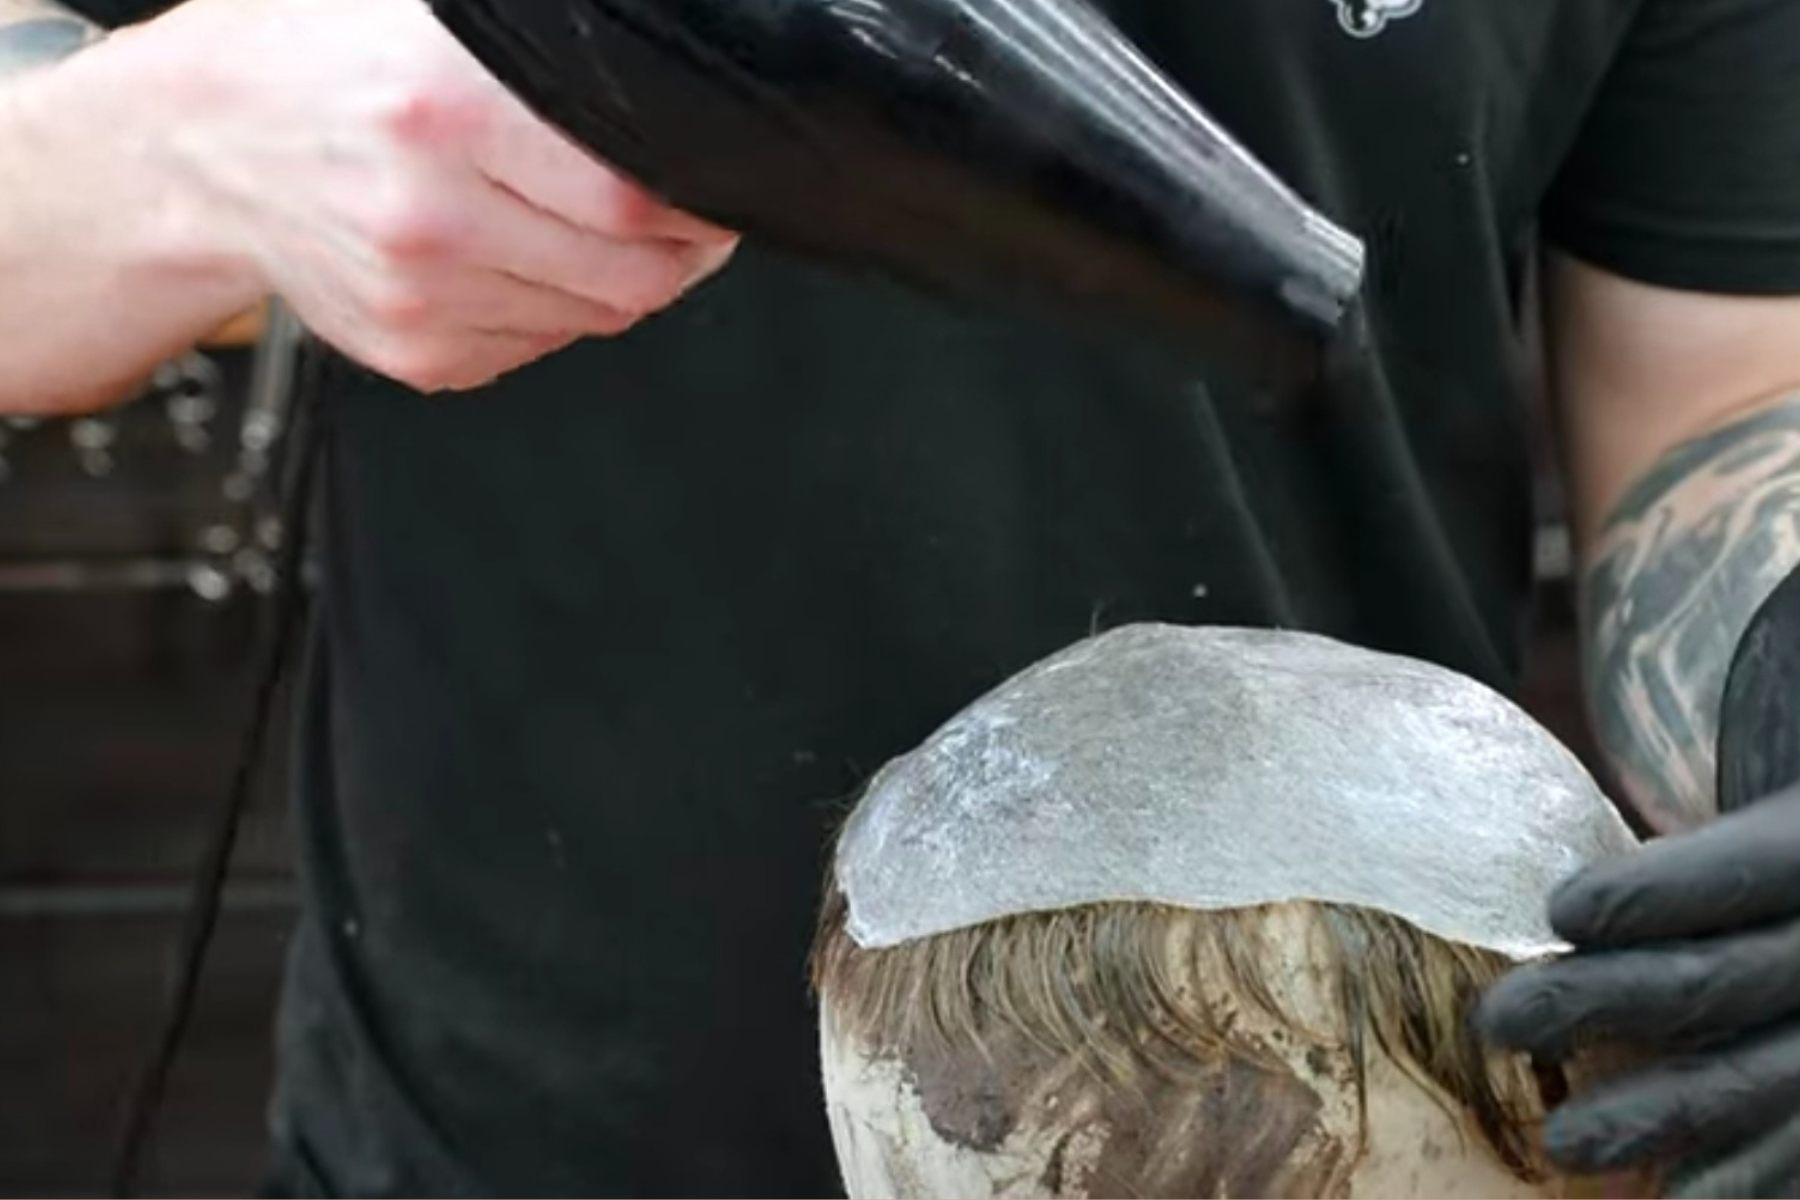
Now applying the same ghost bond right to the unit's base is a very similar process. Now going to go right down to the edges using the same applicator stick, which is unbelievable, but what's great is you see he's holding down the unit.
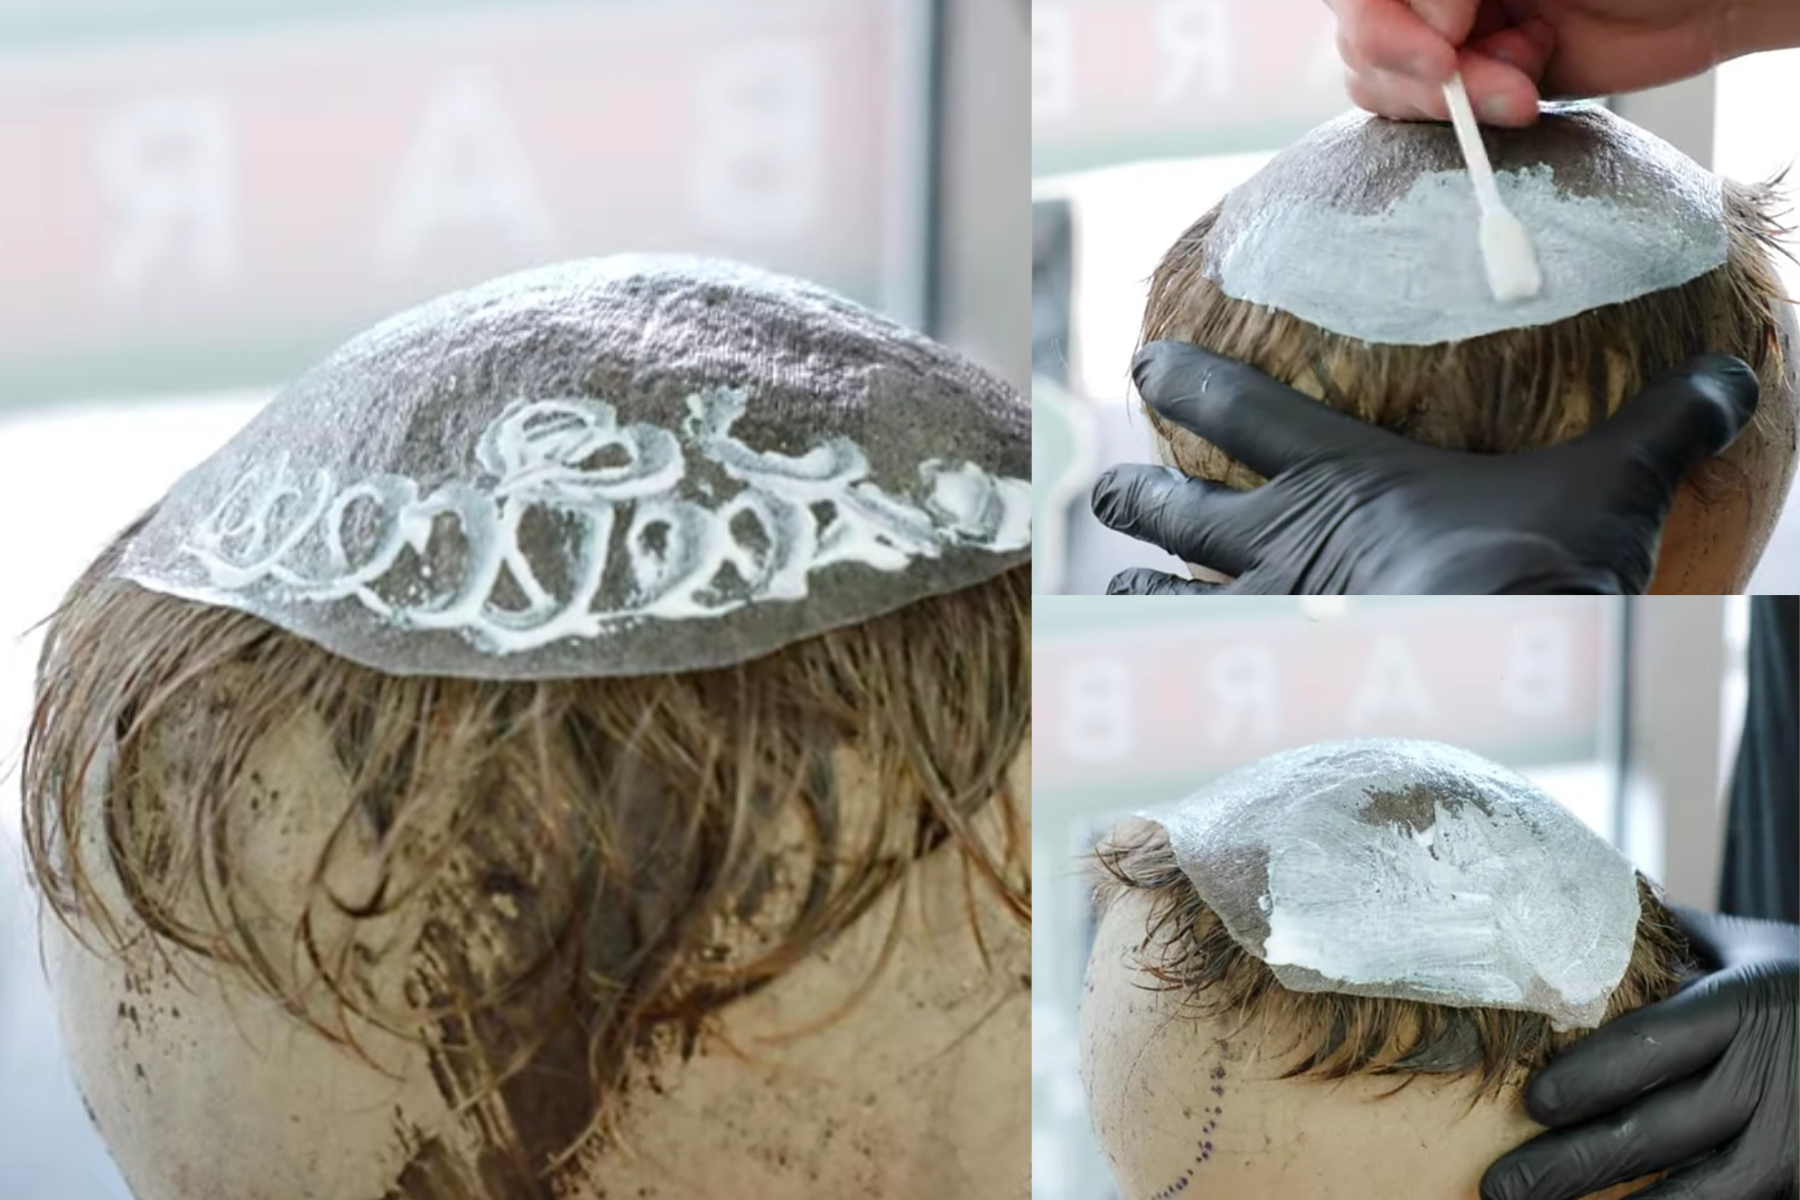
So now with the scale going to go back in with the adhesive and dry it again with the blow dryer just full heat, you know, not. For faster speed, it's better to blow the adhesive or the unit off right, and it falls on the floor.
Now apply the unit on the scalp and according to the market point for perfect application. You do want to press down right, you want you do want to press down to make sure that it's sticking to the scalp, and now he's just simply going back in with a little of that rubbing alcohol and just wiping off the marker and looking at that hairline.
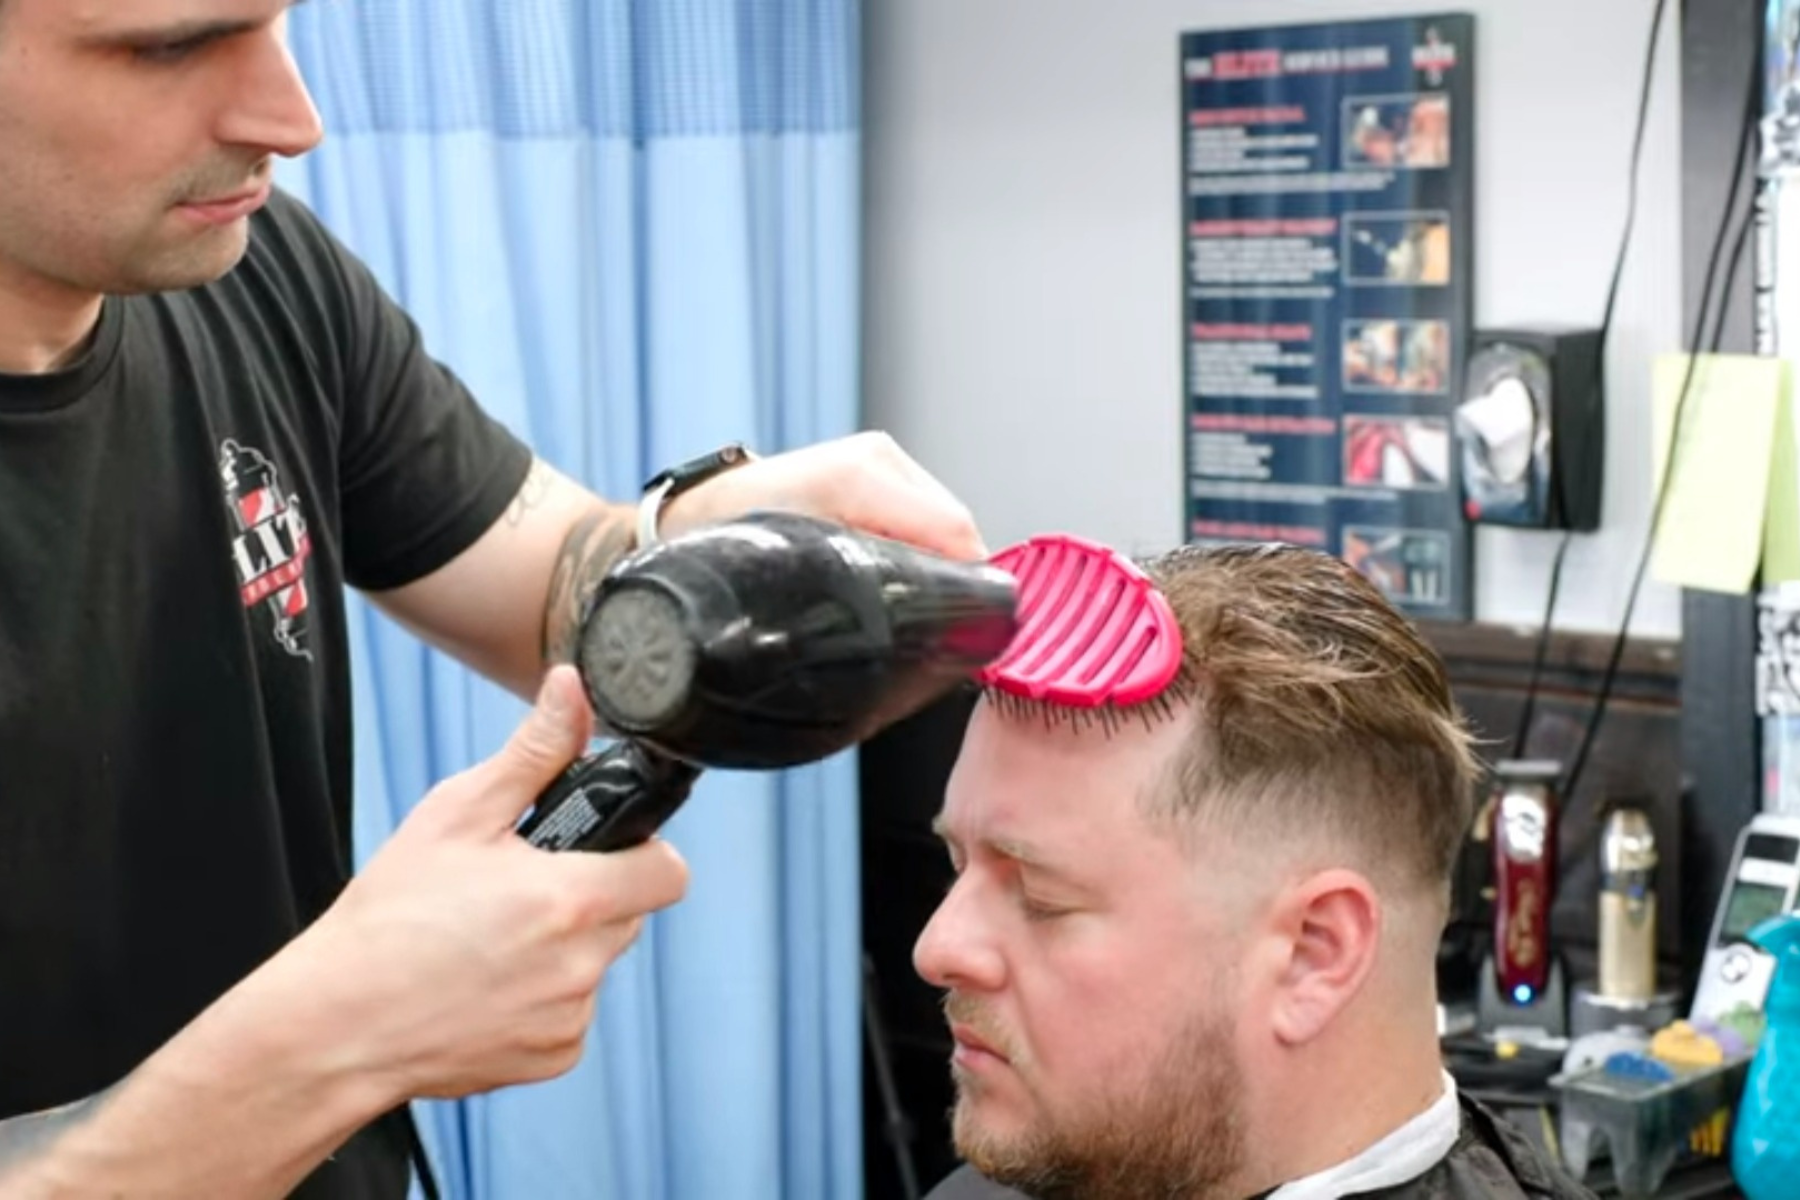
Now Jonathan is usually just using his blow dryer and his kind of vent brush and watching the technique. See, he's pulling forwards and locking that in and what it does is it helps camouflage the front hairline even though it is as good as it is.
 It just softens up that hairline to make it look even that much more realistic, so it's a great technique used by Jonathan here, and look at that.
It's just a great technique that just kind of pulls down the hair to make it look like it's literally as realistic as possible. You can style it however you want, but they've agreed on this style.
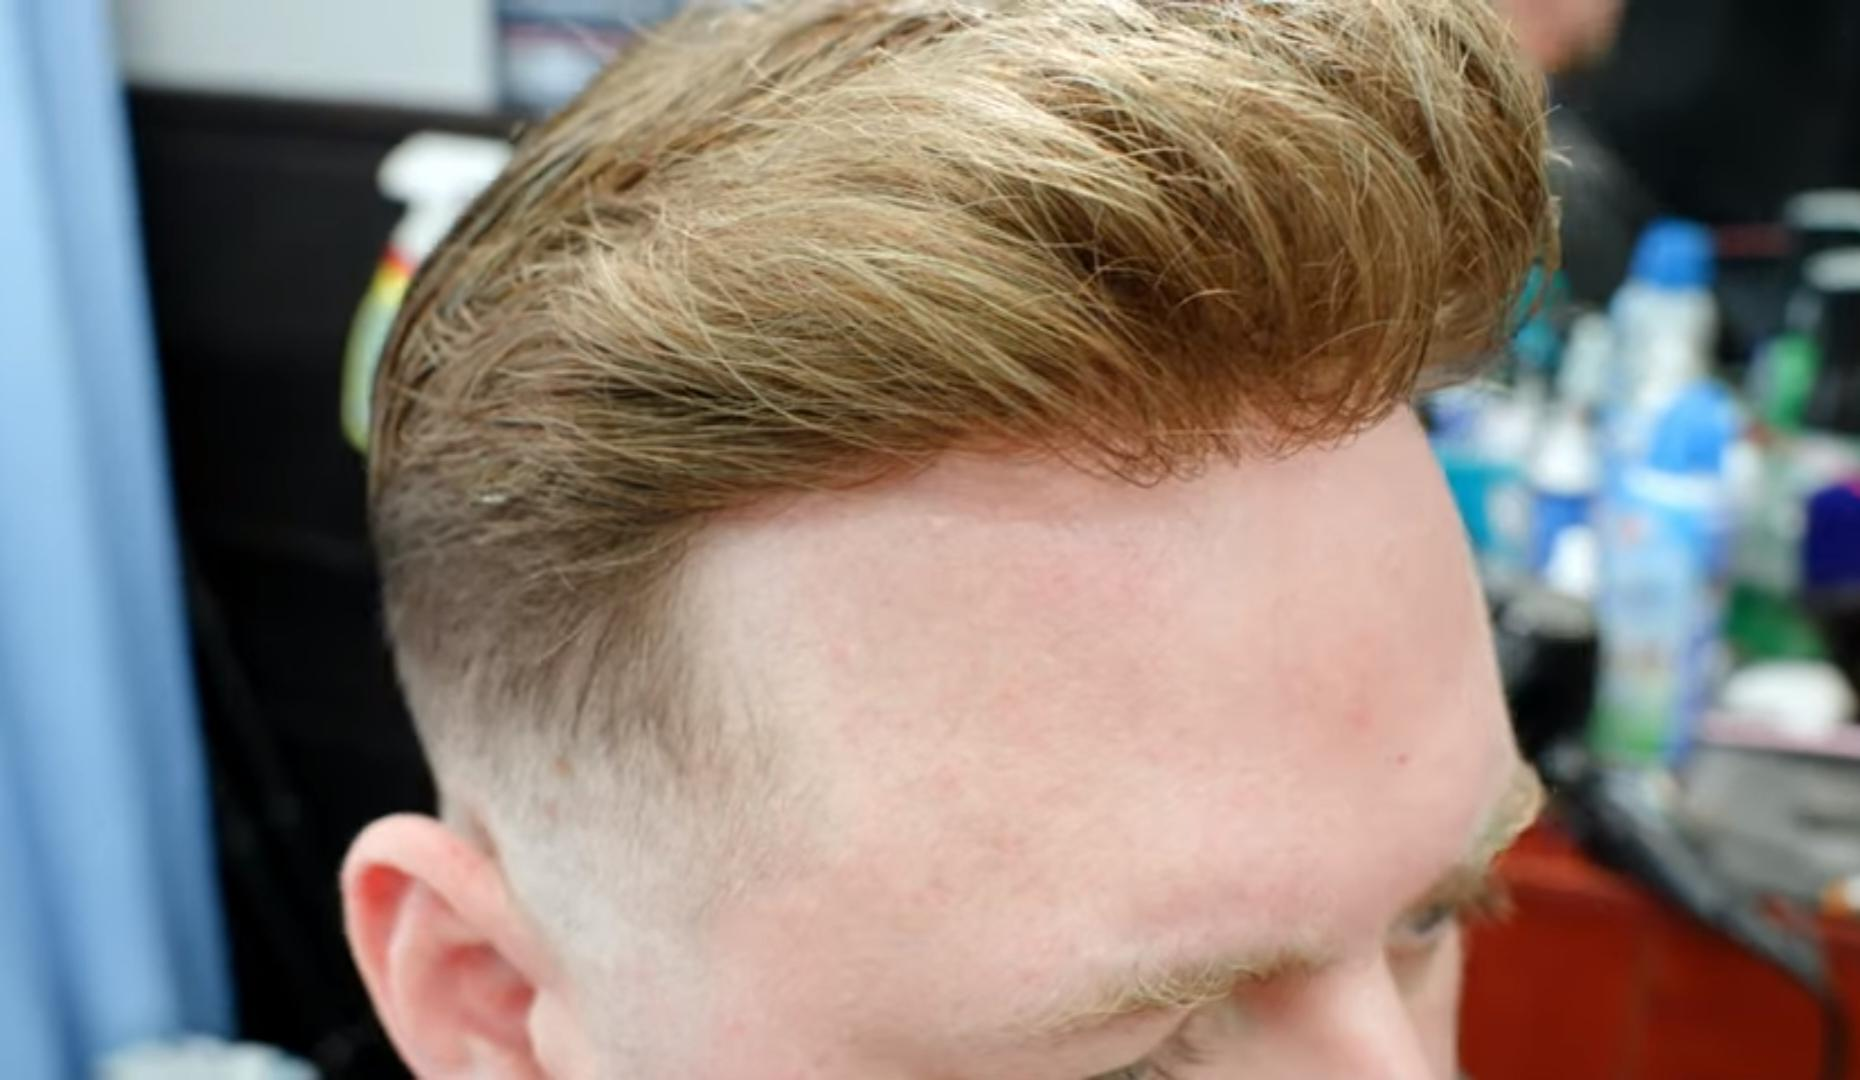
Here are the final looks. You can see this looks incredible. The color is perfect because Nick Jonathan did a super great job.
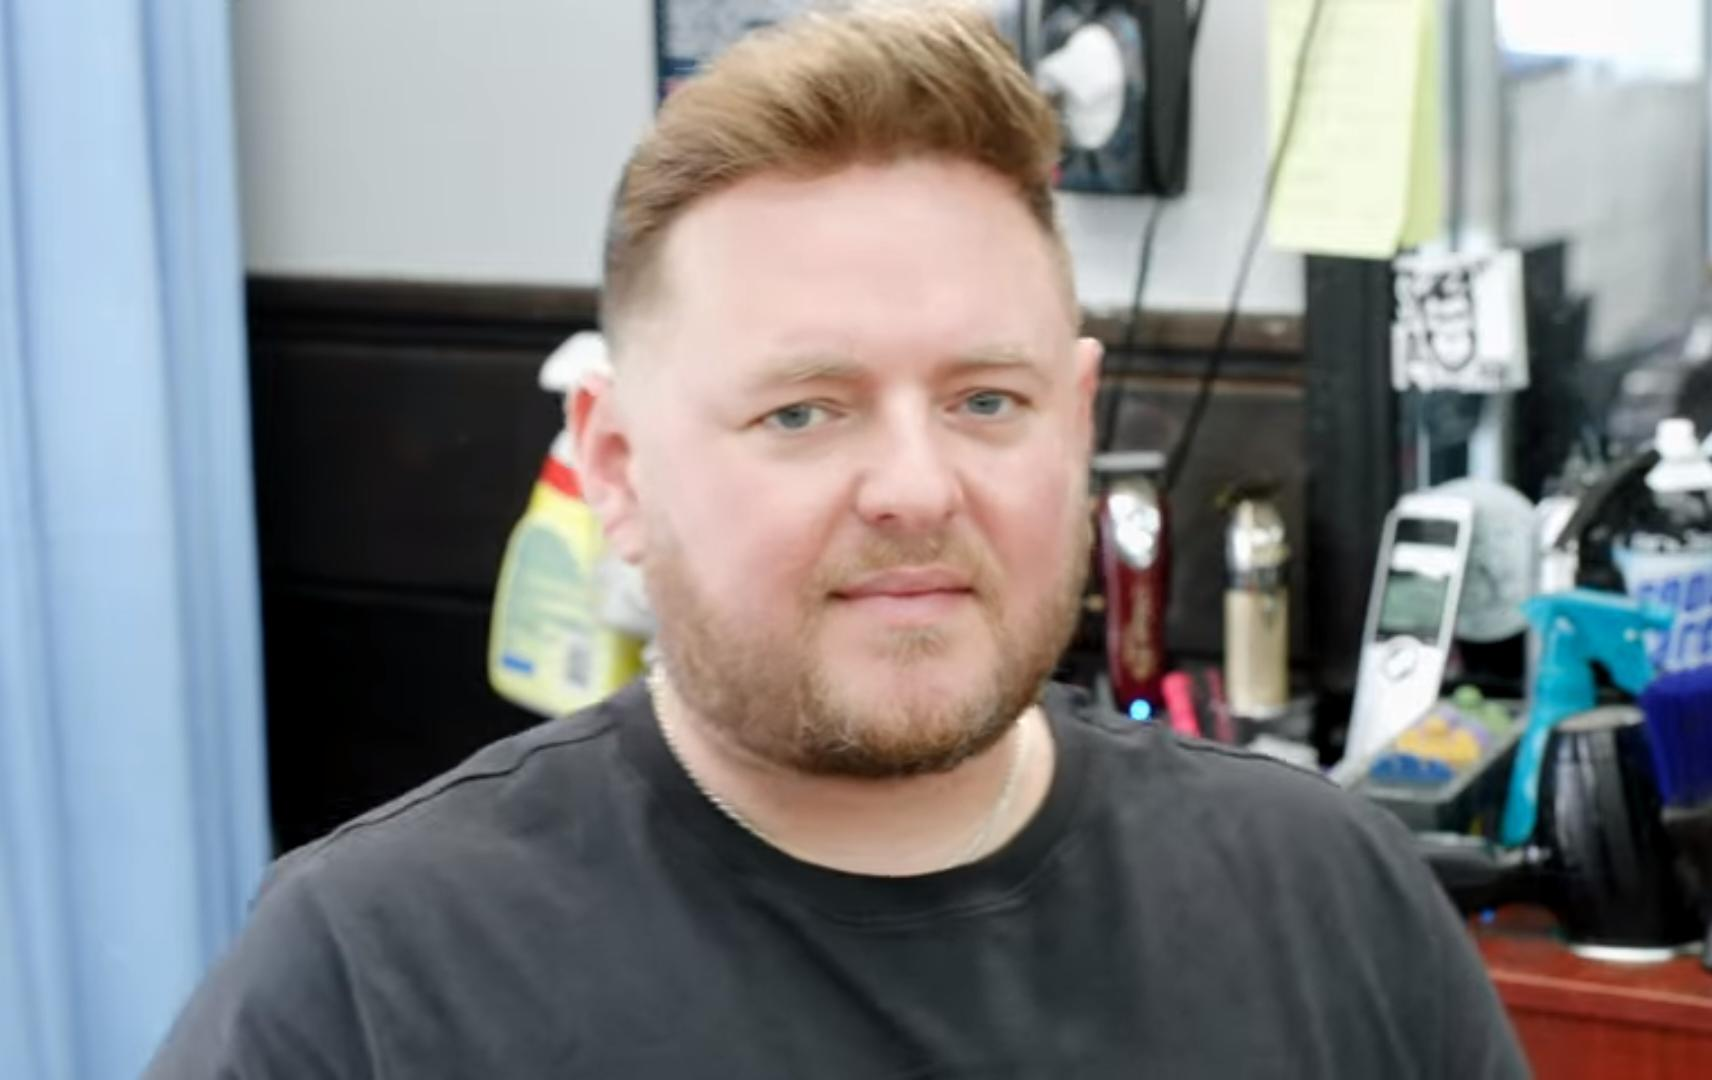
LAvivid Hair System final look.
Thanks for reading.


Leave a reply